Outline Editor
Dynamic and PDF documents Outline Editor
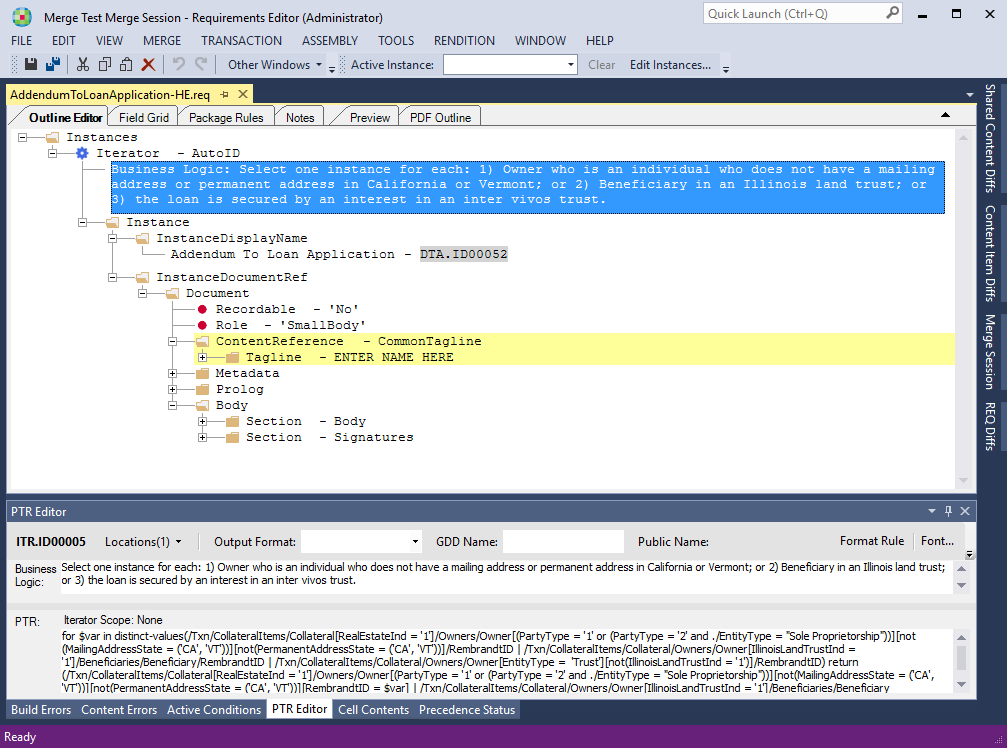
Authors utilize this tab as the main view of a requirements file for authoring and testing. It is here where you can build the file and edit it's contents by adding and removing elements and attributes to adjust the content of the document and to apply formatting requirements to the document.
This window allows you to browse through the document's hierarchy, expand and collapse nodes, as well as edit PTR data within the PTR Editor window.
Shortcut Menu
| Menu Item | Description |
|---|---|
| Add Child Element | Adds a child element to the selected element. The subsequent list of elements changes contextually based on the selected element. This ensures that you cannot add a child that would be invalid according to the schema. When the list of elements is thirty (30) or
greater, the Add Element dialog box is displayed instead of the
context menu. This allows you to quickly filter through the list and
add the desired element as a child. 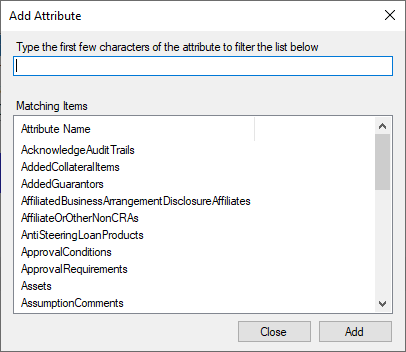 |
| Add Attribute | Adds a new attribute to the selected element. The subsequent list of attributes changes contextually based on the selected element. This ensures that you cannot add an attribute that would be invalid according to the schema. |
| Insert Element Before | Adds an element directly before the selected element. The subsequent list of elements changes contextually based on the selected element. This ensures that you cannot add a child that would be invalid according to the schema. |
| Insert Element After | Adds an element directly after the selected element. The subsequent list of elements changes contextually based on the selected element. This ensures that you cannot add a child that would be invalid according to the schema. |
| Add Condition | Adds a Condition rule to the selected element. Adding a Condition rule creates a precedence override on the selected element. |
| Add Iterator | Adds an Iterator rule to the selected element. Adding an Iterator rule creates a precedence override on the selected element. |
| Add Choose | Adds a Choose rule to the selected element. Adding a Choose rule creates a precedence override on the selected element. |
| Add Note | Adds a child Note element to the selected element |
| Add WCAG Note | Adds a child WCAG Note element to the selected element |
| Cut (Ctrl+X) | Copies the selected item to the clipboard and then removes it from
its current location. See also: Cut/Copy/Paste |
| Copy (Ctrl+C) | Copies the selected item to the clipboard. See also: Cut/Copy/Paste |
| Paste (Ctrl+V) | Pastes the content of the clipboard to the currently selected
item. When pasting content, a validation check is performed against the schema. This ensures the content is valid in the selected location. |
| Delete (Del) | Removes the selected element/attribute. |
| Duplicate (Ctrl+D) | Creates a duplicate copy of the selected element. The duplicate element is placed directly following the selected element. |
| Copy XPath Location | Copies the XPath of the selected element or attribute to the clipboard |
| Go to Field Grid | Displays and highlights the selected rule in the Field Grid tab |
| View Content Dependencies | Displays a window containing a list of all Content Dependencies within the document. Items within the list can be copied to the Clipboard. |
| Expand | Expands the selected element to show all child elements. |
| Collapse | Collapses the selected element to hide all child elements. |
| Expand All Attributes | Expands the selected element to show all attributes. |
| Collapse All Attributes | Collapses the selected element to hide all attributes. |
Rules Context Menu
- Double-click the line containing the rule to open the textual editor.
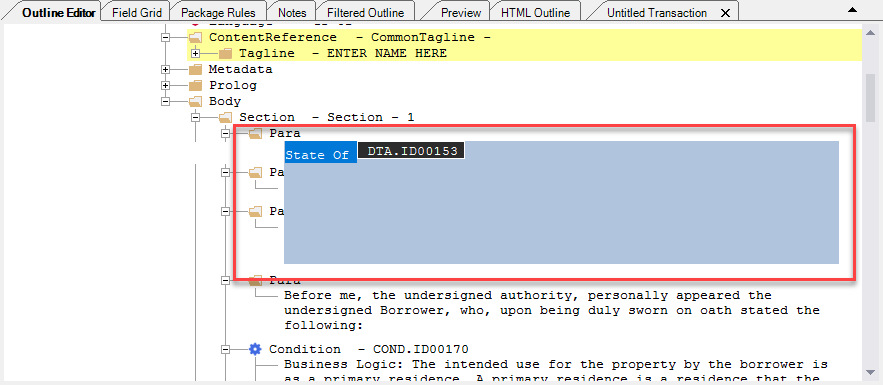
- Left-click anywhere within the textual editor to deselect the content.
- Right-click the rule to display the rules context menu.
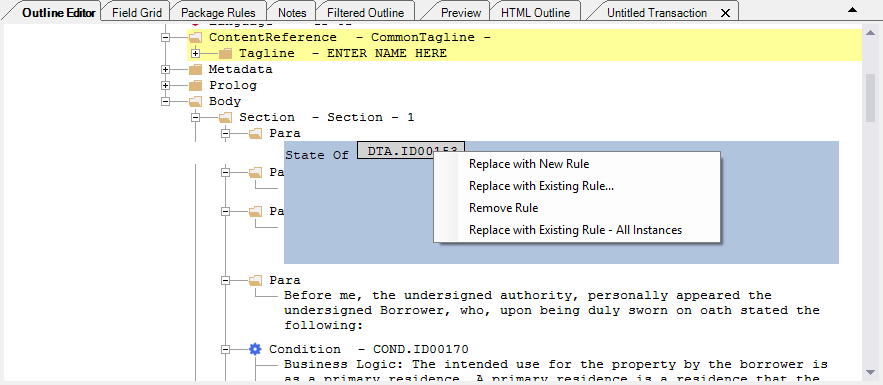
| Replace with New Rule | Creates a new rule and replaces the selected rule with the new one. |
| Replace with Existing Rule... | Allows you to replace the selected rule with a rule from:
|
| Remove Rule | Removes the selected rule |
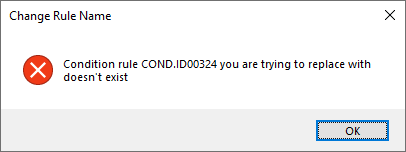
| Replace with Existing Rule - All Instances | Allows you to enter an existing rule name and then replace all other
existing instances of the rule with your entered rule.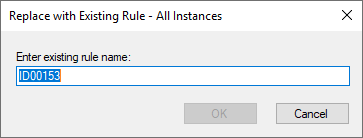 If an ID is entered that does not exist, an error message is displayed. |
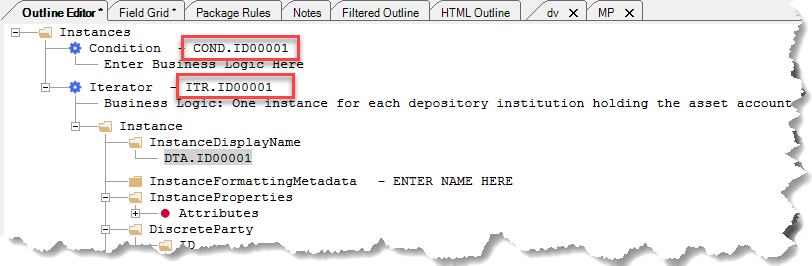
Renaming Conditions and Iterators