Emphasis
Emphasis is given when a legal requirement dictates the appearance of
text.
Note: Emphasis elements have a background color of RGB(255, 216, 178) 
How to apply Emphasis
To apply emphasis to a specific element:
- Locate and double-click the desired line of text or DTA to display the
editing text box.

- Select the word, phrase or DTA to which you wish to place the
emphasis attribute.Note: To select the DTA of a line that also contains text:
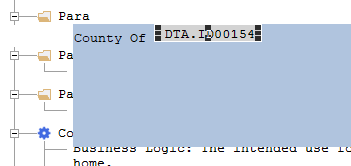
- Move the editing cursor to the end of the DTA.
- Hold Shift and press the left arrow key to select the
DTA. The DTA will show resize handles when selected.
- Continue with step 3.
- Right-click your selection and select the desired types of Emphasis (see
Types of Emphasis
below).
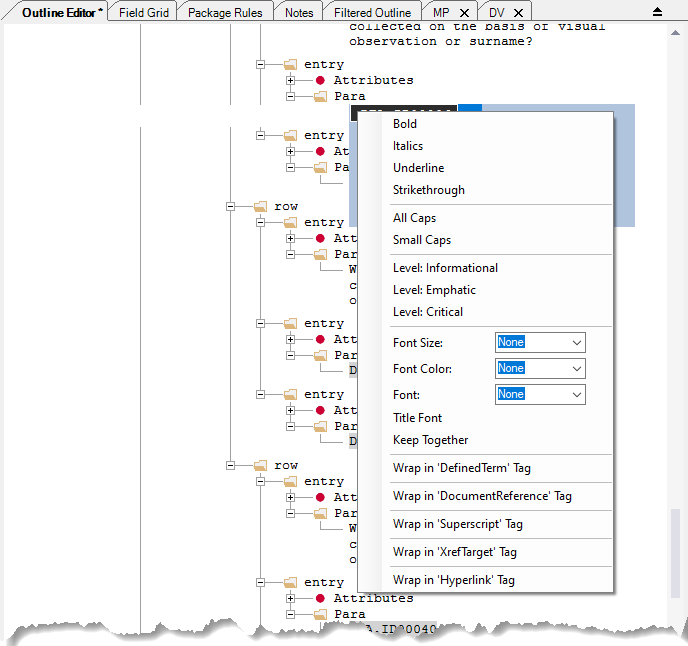 Note: Multiple Emphasis types can be selected during this step. When finished selecting Emphasis types, click outside the context menu to close it.
 - Repeat step 3 as many times as necessary to set the desired types of
Emphasis. Multiple different Emphasis can be applied to the text or
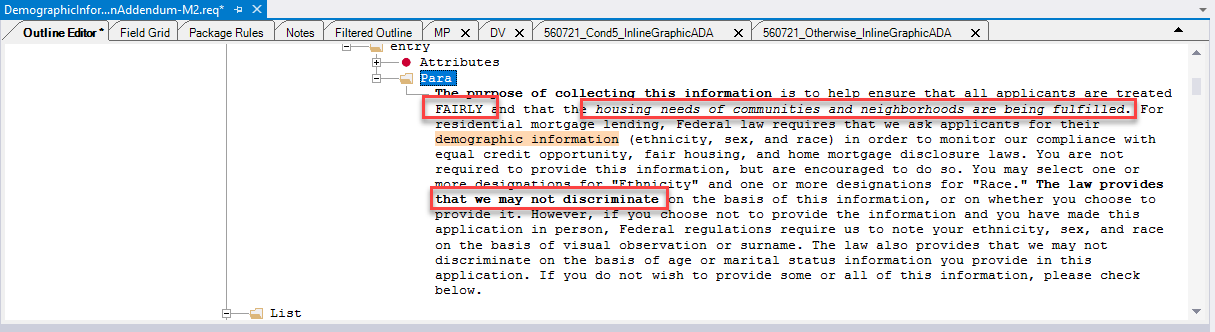
DTA.Note: When not in edit mode, the Outline Editor tab displays the Emphasis attributes matching their attribute values. The three items with red boxes in the example below show highlights of all caps, italics and bold. Attribute values for font names and font sizes are indicated with a pale orange highlight.
Types of Emphasis
The following types of emphasis are available.
| Emphasis Type | Description |
|---|---|
| Bold | Bolds the text within the emphasis element. |
| Italics | Makes the text within the emphasis element italics. |
| Underline | Underlines the text within the emphasis element. |
| Strikethrough | Use this option when a statutory requirement exists and no other way exists to meet the requirement. It places a strikethrough on the text within the emphasis element. |
| ALL CAPS | Use this option rather than typing all the content in caps. It changes all the text within the emphasis element to ALL CAPS. |
| Small Caps | Use this option when possible in the place of ALL CAPS (not all
Eform outputs support Small Caps at this time). It changes all text
within the emphasis element to Small Caps and is indicated with a pale
orange highlight. Note: Numbers are not affected in the same manner as
alpha characters. The first number in a string of numbers is the
same size as the proceeding numbers. |
| Level: Informational | Use for content that deserves some added attention, but there are no significant compliance risks if the emphasis is not noticed. Based on the stylesheet, it is formatted with italics. |
| Level: Emphatic | Used for content that deserves added attention and which is important for compliance. Based on the stylesheet. It is formatted with a bold typeface. |
| Level: Critical | Used for content that has major compliance implications. Based on the stylesheet, it is formatted as bold and Small Caps. |
| Font Size | Allows you to explicitly set the font size required, rather than setting the font size in relation to the base font size this . This is used when a regulation or statute requires a specific font size (ex. 16pt). The stylesheet uses the appropriate font to achieve the true height value that is entered. |
| Font Color | Use in instances where font color requirements should exist as
something other than the standard Black (Red). This option allows you to
set the font color to Black, Red, or White. The Black and White options
are typically only used when the text appears in a shaded table cell and
you want to override the font color the stylesheet uses by
default. Note: When a white font is selected, the text with the
emphasis tag appears as black text when not in edit
mode. |
| Highlight Color | Allows you to set the color of the background highlighting. Options are: None, Black, Red, White, Yellow, and Other. Selecting Other displays the standard Windows Color panel. |
| Font | Allows you to set a custom font to the desired word, phrase or DTA. For more information, refer to Setting a custom font value. |
| Title Font | Changes the font used for body text from a Serif font to Sans Serif (the same font used for titles in the document). This is used for captions for data fields or other areas where the appearance of a title (without the bolding or period) is required. |
| KeepTogether | In certain cases content breaks from one line of a document to the next. An example of this is words like fee(s) where the (s) ends up on the next line. This occurs with the § symbol being separated from the statute number. Applying this KeepTogether option on the text that should stay together will force all of the text to move to the next line. |
| Wrap in "DefinedTerm" Tag | Wraps the selected element in a DefinedTerm tag. |
| Wrap in "DocumentReference" Tag | Wraps the selected element in a DocumentReference tag. |
| Wrap in "Superscript" Tag | Wraps the selected element in a Superscript tag. |
| Wrap in "XrefTarget" Tag | Wraps the selected element in a XrefTarget tag. |
| Wrap in "Hyperlink" Tag | Wraps the selected element in a Hyperlink tag. |
Do not use the following for future content development even though
current content exist that use these. Use the above emphasis attributes
instead.
| Emphasis Type | Description |
|---|---|
| Critical | Used for content that has major compliance implications. Based on the stylesheet, it is formatted as bold and Small Caps. |
| Emphatic | Used for content that deserves added attention and which is important for compliance. Based on the stylesheet. It is formatted with a bold typeface. |
| Informational | Use for content that deserves some added attention, but there are no significant compliance risks if the emphasis is not noticed. Based on the stylesheet, it is formatted with italics. |
Setting a custom font value
The Emphasis element offers the ability to set a custom font to any desired word, phrase or DTA. This is particularly helpful when needing to set a script font (such as Pinyon Script) to a DTA designed as a signature line or initial line.
To set a custom font value:
- Locate and double-click the desired line of text or DTA to display the
editing text box.
- Select the word, phrase or DTA to which you wish to change the font.Note: To select the DTA of a line that also contains text:
- Move the editing cursor to the end of the DTA.
- Hold Shift and press the left arrow key to select the
DTA. The DTA will show resize handles when selected.
- Continue with step 3.
- Right-click your selection and select the desired font from within the
Custom Font list.
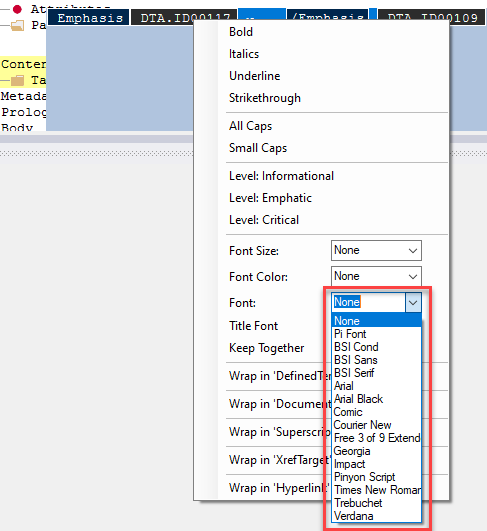
Note: The following is a list of all currently supported fonts.
- None (this will use the StyleSheet default value)
- Pi Font
- BSI Condensed
- BSI Sans
- BSI Serif
- Arial
- Arial Black
- Comic
- Courier New
- Free 3 of 9 Extended
- Georgia
- Impact
- Pinyon Script
- Times New Roman
- Trebuchet
- Verdana