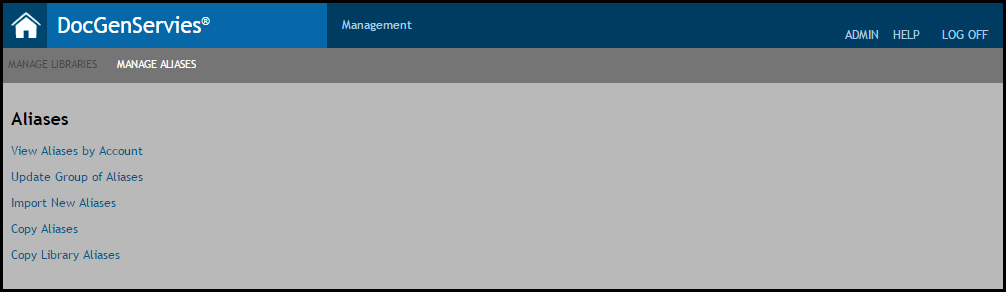
Importing New Aliases
This section explains how to create multiple aliases for multiple accounts. The Import New Aliases function uses a .CSV file with the AccountID (created in the Wolters Kluwer Financial Services Administration tool), Original Value, Destination Value, and AddPermission values to create the alias.
Note the following:
- Duplicate original values are not allowed. The Management Tool and .CSV file processes validate the "name" in the original value; for example:
- Original value: TestAlias\(.*)
- Duplicate: TestAlias\.(*)
- Duplicate: Test Alias/(.*)
Only the original value is honored; the validation process checks for duplicate values by name and a valid RegEx at the end of the original value.
- The Management Tool nor .CSV processes allow invalid regular expressions in the original values; for example:
- Invalid regular expression: TestAlias\.(.*)\
- The new value field validates for invalid characters, if a library was deployed, any non-1 values immediately after "$," and if "expere" exists at the beginning of the value.
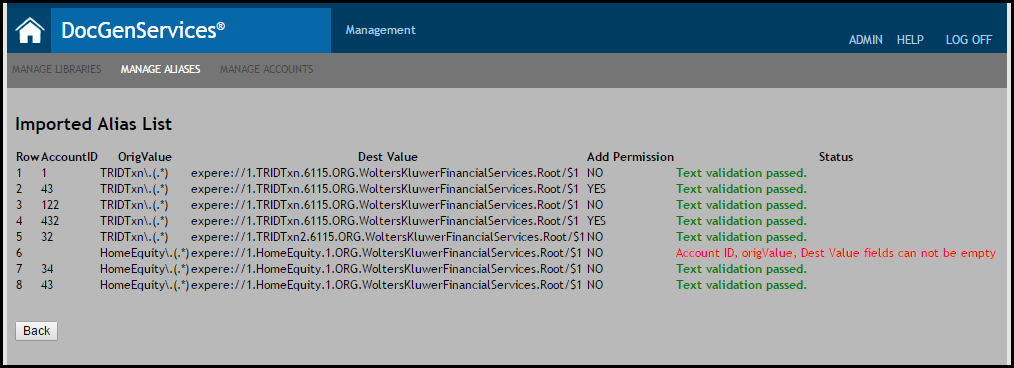
- If the .CSV contains a duplicate original value in an existing Account ID, a warning message appears.
- Users can now add over 400 aliases to a single account.
- The import will fail if the file contains any invalid characters or errors.
- The Import New Aliases feature is only accessible to Account Administrators.
Note: Users can update or overwrite Destination Values for Original Values. When importing the .CSV the following message appears in the Status column:
- Valid. Warning! Existing destination value for <OrigValue> will be overwritten.
- From the Manage Aliases page, click the Import New Aliases link.
- The Select CSV File page appears. Browse to the .CSV location and click Import. The Management Tool validates the file to verify no errors exist. Note: If any errors occur during the import, you must correct the errors from the list and repeat the import.The Imported Alias List page appears with a status displayed for each row in the .CSV file.
- Click the Back button to return to the Select CSV File page.