PubAssist
Overview
PubAssist is the latest iteration of the InfoDev publishing tool. It is designed to allow you a quick and easy method of accessing your documentation's source files and publishing content to the InfoDev servers.
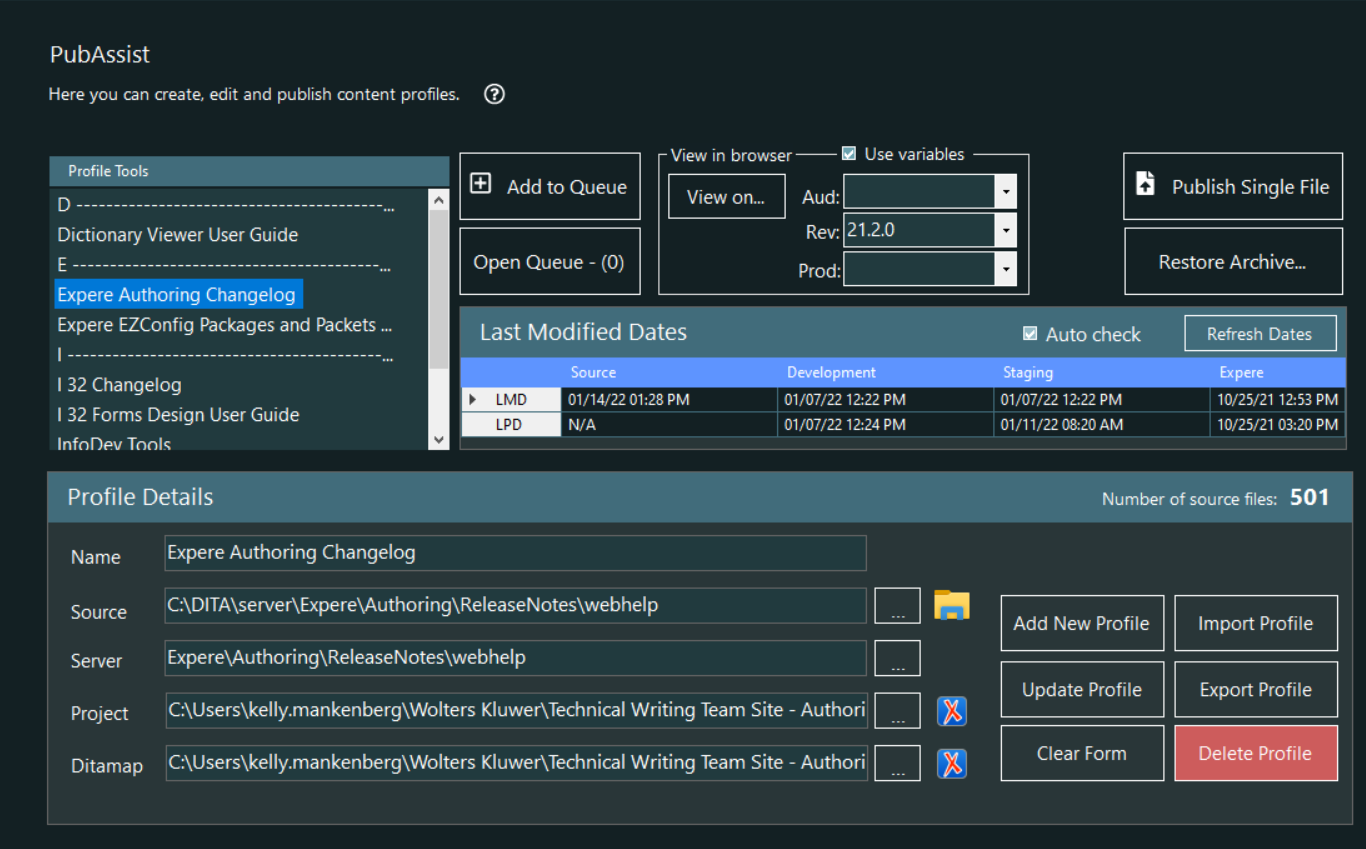
Profiles List
Queue buttons
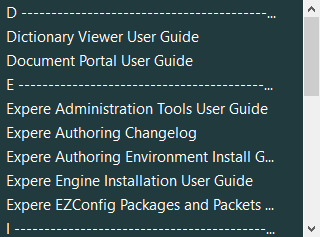
- Add to Queue: Allows you to place the selected profile in queue to
the desired server. Selecting Add to Queue displays the Add to Queue
menu from which you can select the desired server.
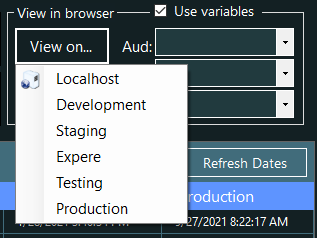
 Selecting a server from the context menu places the profile in queue and increases the queue number on the Open Queue button.Note: From within Settings, you can select to not show the Expere, Testing and Production options.
 - Open Queue: This button displays the number of items currently in the queue, and provides the method for accessing the Publishing Queue. For more information, refer to Publishing Queue.
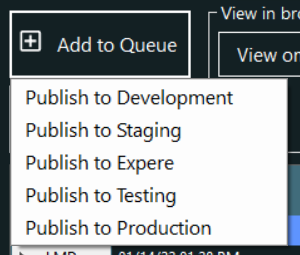
View in Browser
Using browser variables
- The Use variables, Aud, Rev, and Prod values are automatically saved to the IDT settings and are retained between IDT sessions.
- The variables displayed in each list can be edited within the Editor once you have an item in the list.
Last Modified Dates

Last Modified Dates (LMD) and Last Published Dates (LPD) are provided for each server environment. The Last Modified Dates display the latest date that the item on the server was modified (transformed in Oxygen). The Last Published Dates display the last time the content was published by IDT to the server.
This information is helpful in determining if your content has been published to a specific server since you last transformed it. For example, you would not need to publish to Staging if your Source and Staging dates are the same. IF Source is a later date than Staging, you need to publish to Staging.
Profile Details
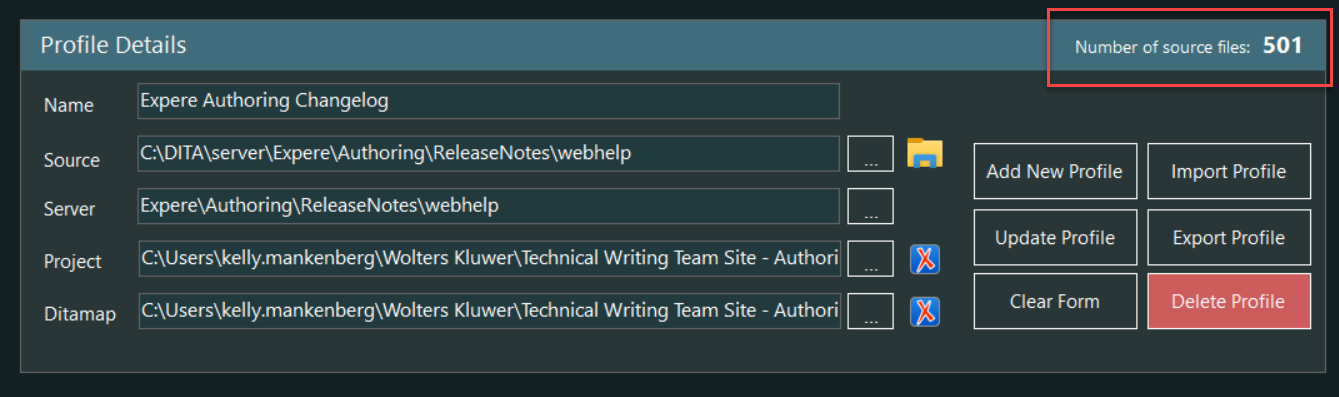
| Feature | Description |
|---|---|
| Profile Name | The name of the profile.
|
| Source Folder | The location of the files that are transformed by Oxygen (the
location of the Oxygen output folder). Note: For the purpose of PubAssist, it may be easier for you to
crate multiple transformation scenarios in Oxygen - one for each
document you transform. Having Oxygen transform to individual
locations in the C:\DITA\Server framework allows for a local
representation of the content that is more identical with the
servers.
|
| Server Folder | Allows you to select a location on the development server to which the content of the profile will publish. the location selected will be the same across all servers. |
| Oxygen Project* | Allows you to select the associated Oxygen project file. This is helpful if you have mapped the DITA Repository to a network drive. Clicking the Oxygen button opens the project file within Oxygen. |
| DITAMap* | Allows you to select the associated Oxygen DITAMap file. This is helpful if you have mapped the DITA Repository to a network drive. Clicking the Oxygen button opens the ditamap file within Oxygen. |
| Add Profile | Creates a new profile that includes the information in the Profile elements text boxes. |
| Update Profile | Updates the currently selected profile. |
| *Optional |