Executing a Document
The Execute Document feature is used to assemble (or generate) a PDF output of the REQ file for testing purposes. This is used primarily to evaluate rules and create a document based on a particular data set. When using this feature you must define the source of the transaction data to use in creating the PDF output.
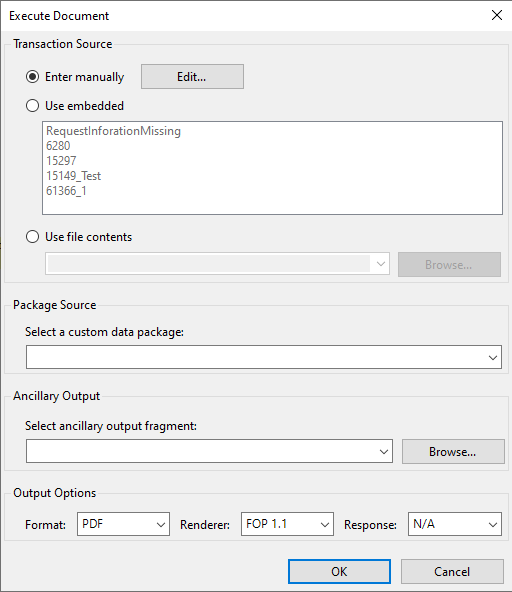
- Enter manually: refer to Entering Transaction XML Manually.
- Use embedded: allows you to use the transactions from the current document.
- Use file contents: Select this option to use an external transaction file.
- Package Source > Select ancillary output fragment: allows you to select the desired package to use during document execution. This allows you to test different variants of the executed customer content. If no selection is made, the first package is used.
- Ancillary Output > Select ancillary output xml
fragment - This feature allows you to test ancillary barcodes and
watermarks and logos. The selections include a blank option to indicate no
fragment will be processed and any fragments included with the installation. For
more information, refer to Selecting the Ancillary Output XML Fragment.Note: The items in this list are populated with files from the location set in the Ancillary Output Fragments Location option in the Expere General section of the Options dialog ().
- Output Options: allows you to select from the following:
- Format: Allows you to select the output document format. You can select from PDF, RTF, and Tagged PDF.
- Renderer: Allows you to select the version of FOP to be used when the
document is rendered. Options are FOP 1.1 (default) and FOP
2.6.Note: When using Requirements Editor with a version of the Expere engine that does not support FOP 1.1, the option to select the FOP 1.1 version is removed.
- Response: Allows you to to display the Expere Response in one of the following: N/A, Default format, XSL-FO, and Raw XML.
Once the transaction data source is defined, the system then processes the REQ file and creates a PDF output. The resulting PDF(s) automatically open and can be reviewed, printed, and saved as a separate file.
Entering Transaction XML Manually
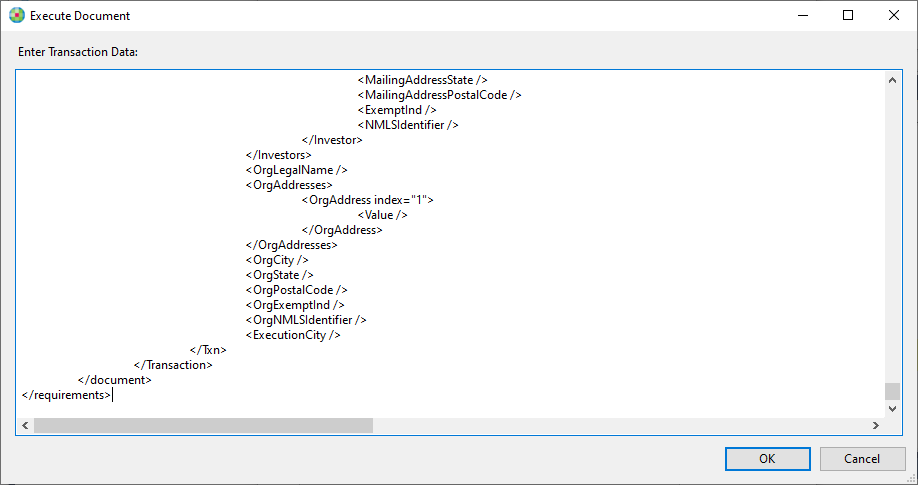
When returned to the Select Transaction XML dialog box, click OK to execute the document.
Selecting the Ancillary Output XML Fragment
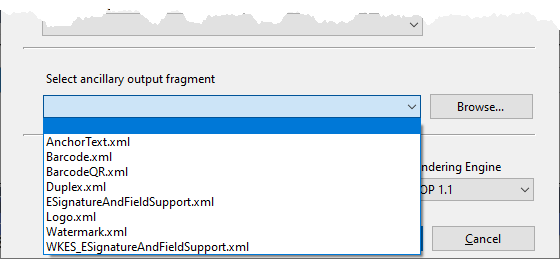
- ESignatureAndFieldSupport: The ESignatureAndFieldSupport.xml file (listed fifth in the image above) contains an eSignatureWKES value of false. The last item in the list, WKES_ESignatureAndFieldSupport.xml allows you to use a file containing an eSignatureWKES value of true.
-
Note: The items in this list are populated with files from the location set in the Ancillary Output Fragments Location option in the Expere General section of the Options dialog ().
- The Ancillary Output templates provided by the Expere Engine install and
used by the Requirements Editor all include the
<ESignatureAndFieldSupport>element.
PTR Schema Warnings
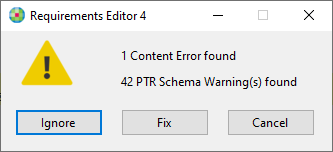
The message displays the number of content errors and PTR Schema Warnings identified. The number of content errors is a direct reflection of the errors found within the Content Errors pane.
Selecting Ignore ignores the identified errors and continues with the document execution process.
Selecting Fix displays the Content Errors pane allowing you to view and address the identified issues. If there's nothing listed under the Error(s) section of the Content Errors pane, the Fix button redirects to the Field Grid tab with the first PTR from the warnings list highlighted.