Validating Transactions
Transaction XML can be validated by selecting Validate Transaction in the Transaction menu. The feature performs validation against the schema associated with the document whether ExpereTxn, VMP MISMO, or any other schema that the document is based upon.
The results of the validation are presented in a Validation Errors(nn) window displayed directly under the document/tab. In the list of errors, select an error to apply focus to the related element in the transaction view.
The Deprecated Items pane is available exclusively for Transaction tabs (see Deprecated Items below).
Transaction Elements Actions
Selecting nodes with the left mouse button
Selecting a currently visible item in the Transaction Elements pane with the left (primary) mouse button displays its associated element attributes, if applicable, within the Element Attributes pane.
Shortcut menu
| Menu Item | Description |
|---|---|
| Collapse Child Nodes | Hides all child nodes (recursively) of the selected node |
| Expand Child Nodes | Shows all child nodes (recursively) of the selected node |
| Populate this Element from File... | Allows you to browse for an existing XML file containing data for the element. For more information, refer to Populating an element from a file. |
| Populate this Element and its Children from File... | Allows you to browse for an existing XML file containing data for the element and its children |
| Add Child Element | Provides a schema-aware list of elements that can be inserted
as children of the selected element. The following example
illustrates how the Add Child Element list is filtered when
being applied to the MortgageBroker element. Note: You can add custom element
and attribute nodes to your Transaction tree. For more
information, refer to Adding Custom Transaction Nodes. |
| Duplicate (Ctrl+D) | Allows you to duplicate the selected child node. When a duplicate is made, both the original element and the duplicate are appended numerically, as shown in the following example. Note: The Duplicate Element command is not available for top
level elements.
|
| Copy (Ctrl+C) | Copies the selected node(s) to the Clipboard. |
| Paste (Ctrl+V) | Pastes previously copied element(s) from the Clipboard. If the elements are not valid for the selected node, this option is disabled. |
| Delete (Del) | Allows you to delete the selected element. All children of the selected element are also deleted. |
| Remove Attributes with Null Values | Removes all attributes of the selected node that contain null
values A message containing the results is displayed when complete. |
| Remove Attributes with Null Values (Recursive) | Removes all attributes of the selected node and children
nodes that contain null values A message containing the results is displayed when complete. |
| Remove Unsupressed Values |
Removes all unsuppressed values of the selected node A message containing the results is displayed when complete. |
| Remove Unsupressed Values (Recursive) |
Removes all unsuppressed values of the selected node and all its children A message containing the results is displayed when complete. |
Populating an element from a file
Requirements Editor allows you to populate the attributes of an element, or an element and its children, from an existing xml file.
- Right-click the desired element.
- Select either Populate this Element from File...
or Populate this Element and its Children from
File....
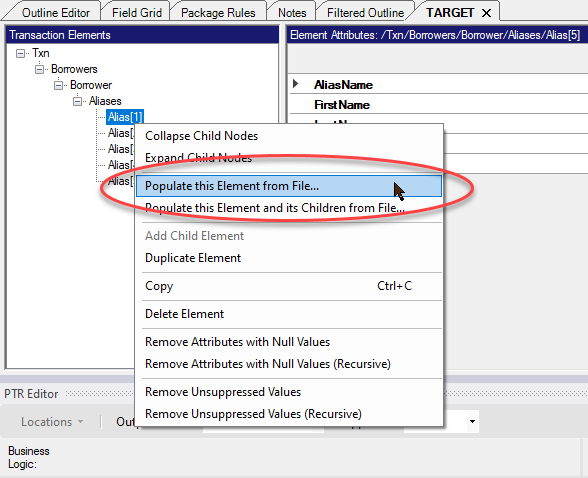
The Windows file browser window is displayed. - Browse for and select the XML file containing the
attributes. A window is displayed allowing you to
select any options available within the file.
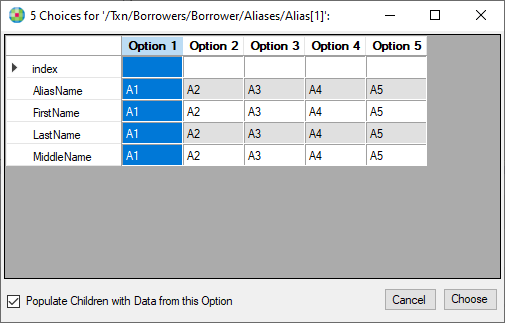
- Select the desired option by clicking the column header, and then select Choose. The element attributes are populated with the selected option.
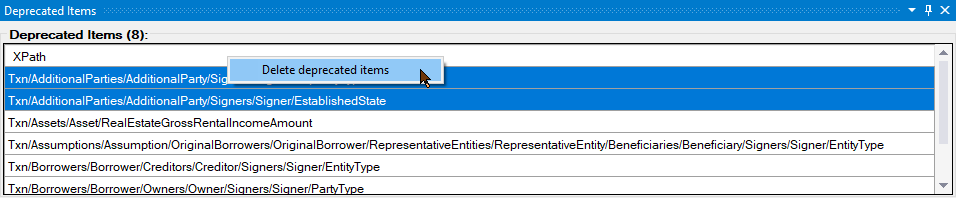
Deprecated Items
The Deprecated Items pane is available exclusively for Transaction tabs. Otherwise, it is disabled. When selected, the deprecated items are displayed as a list of XPaths.
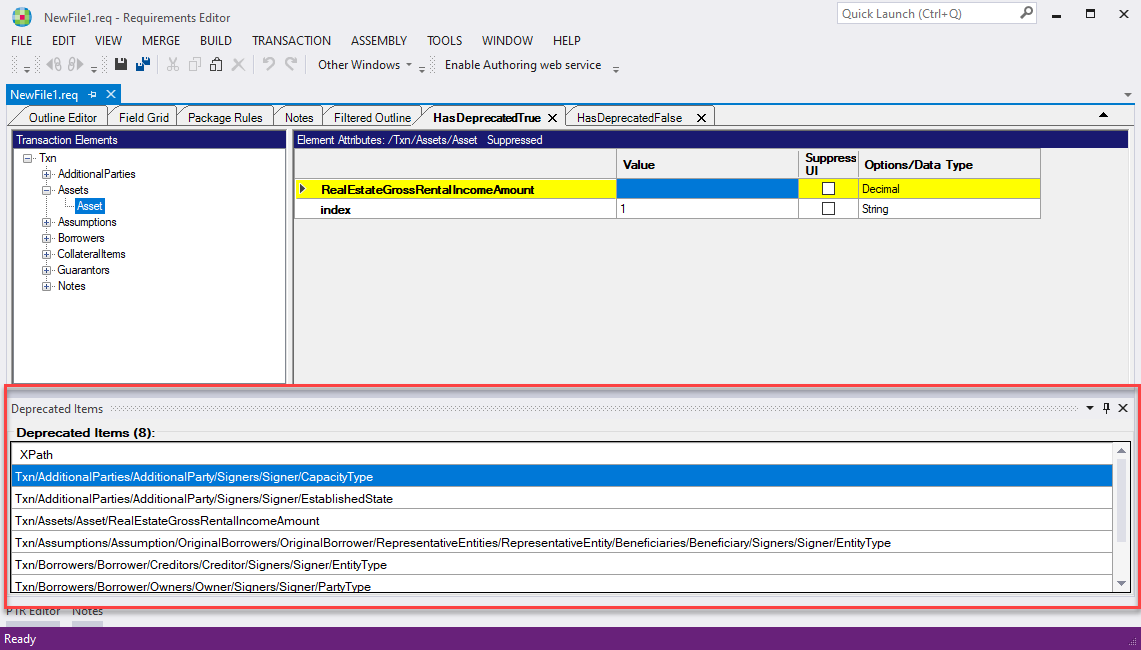
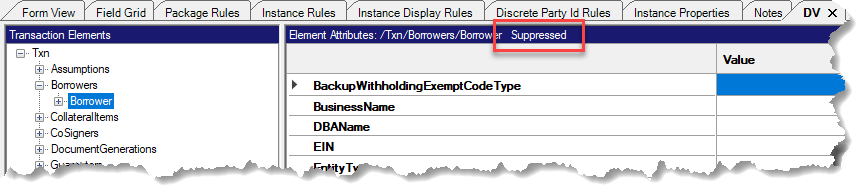
Deprecated enumeration values of a transaction are highlighted yellow in the values list.

Multiple XPath rows in the list can be selected using the Ctrl and Shift keys.
After all desired items are selected, right-clicking a selected row displays a context menu with the option Delete deprecated node(s).
A message appears prompting confirmation to delete the selection.