Creating a Policy
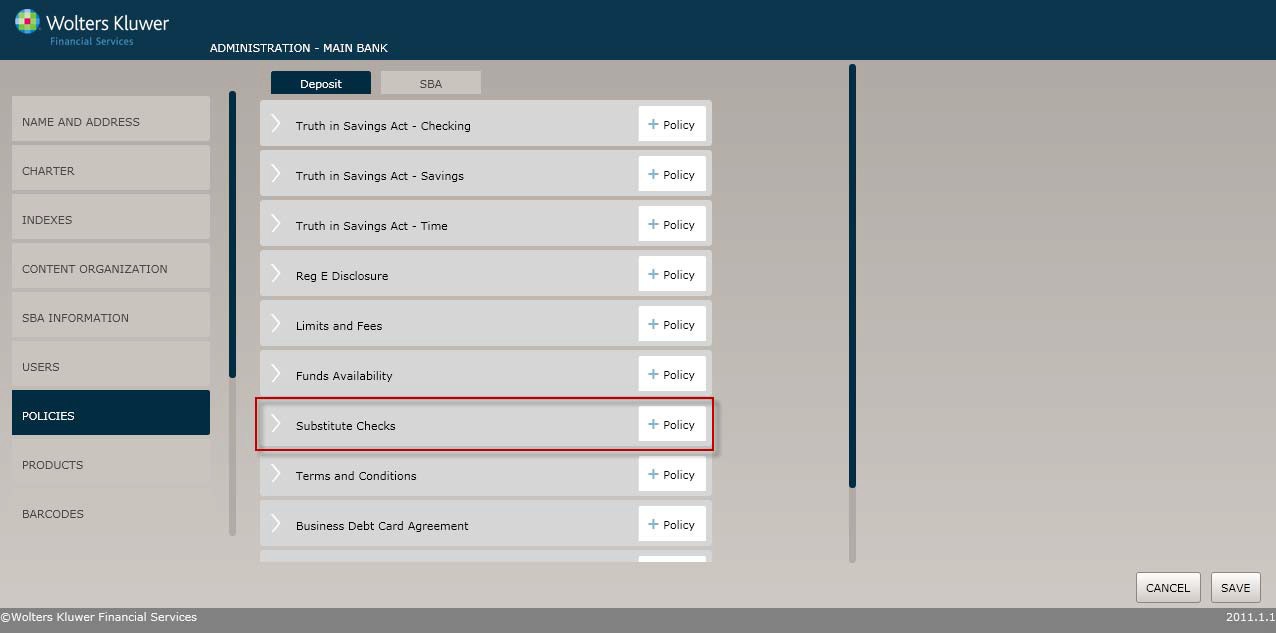
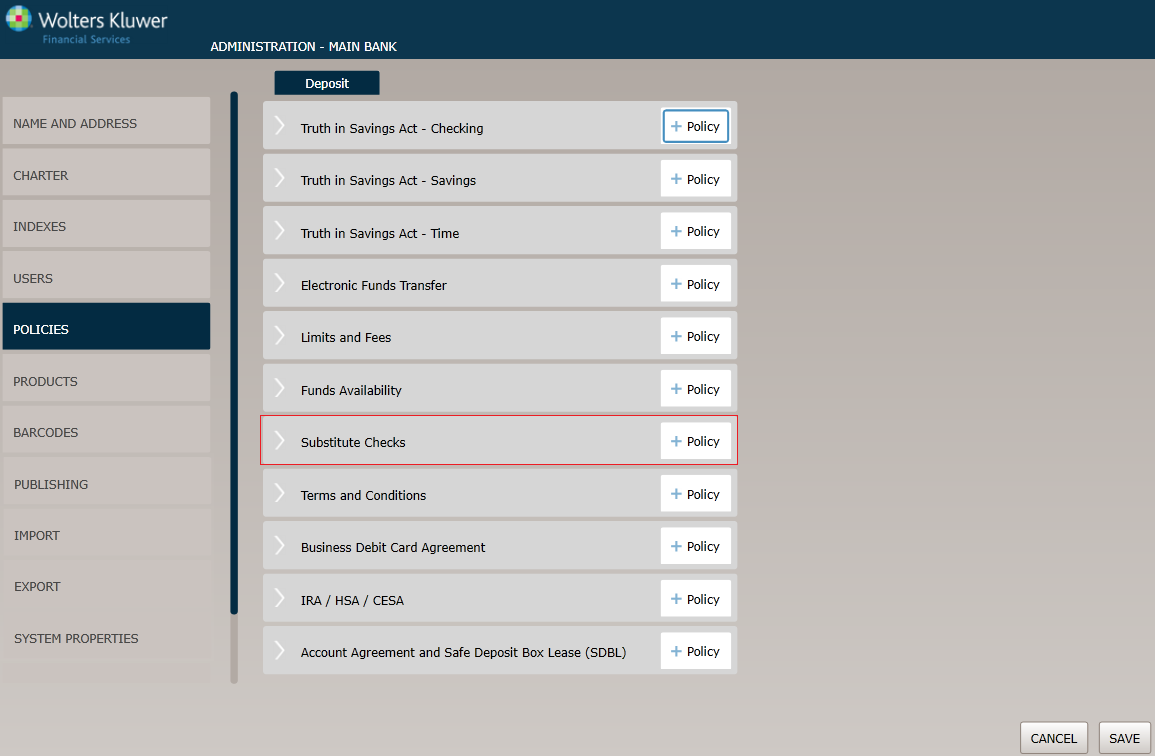
Before You Begin
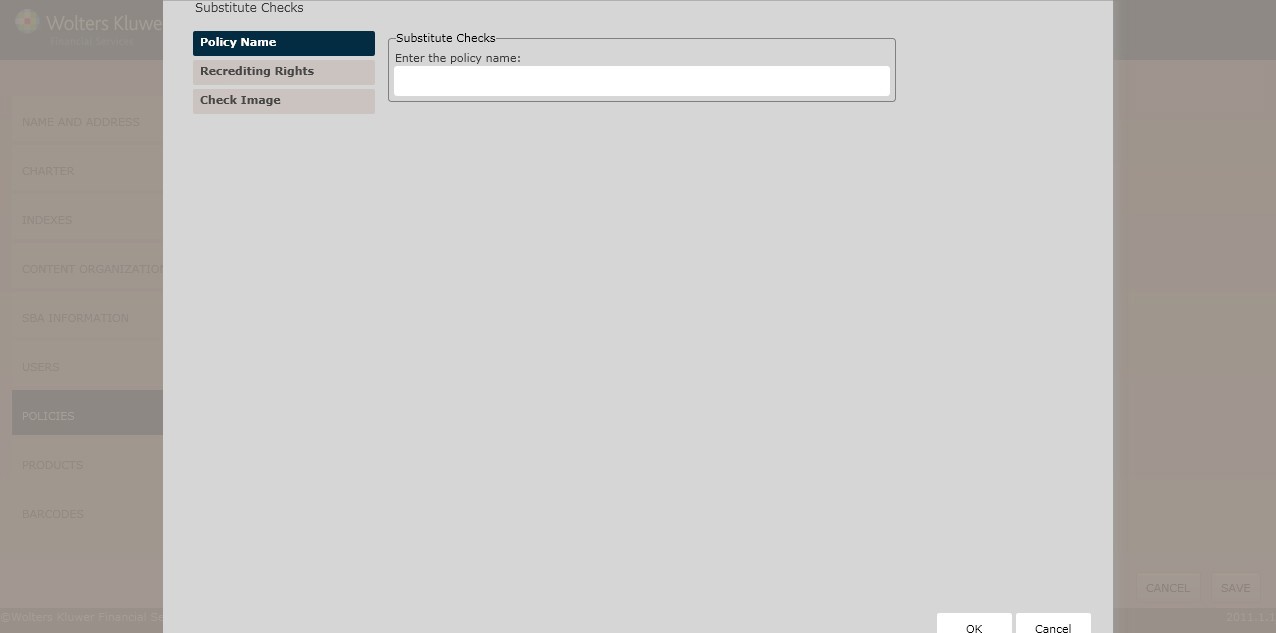
The Policy Name page appears by default. Complete this page and then click the option immediately under Policy Name, in this case Re crediting Rights. Continue until you have completed all the necessary pages and fields.
Click the OK button at any time to save the policy information; however, keep in mind that the policy will close and save the information when you click OK. You will have to go to the menu page and open the policy again to make additional changes.
Policy Name page
Re crediting Rights
The Re crediting Rights page allows special recrediting procedures to protect consumers in instances when a check gets converted to a substitute check and an error or discrepancy occurs. This page allows users to define the following:
- Business Days
- Maximum Dollar Amount
- Refund Calendar Days
- Substitute Check Calendar Days
- Re crediting Claims
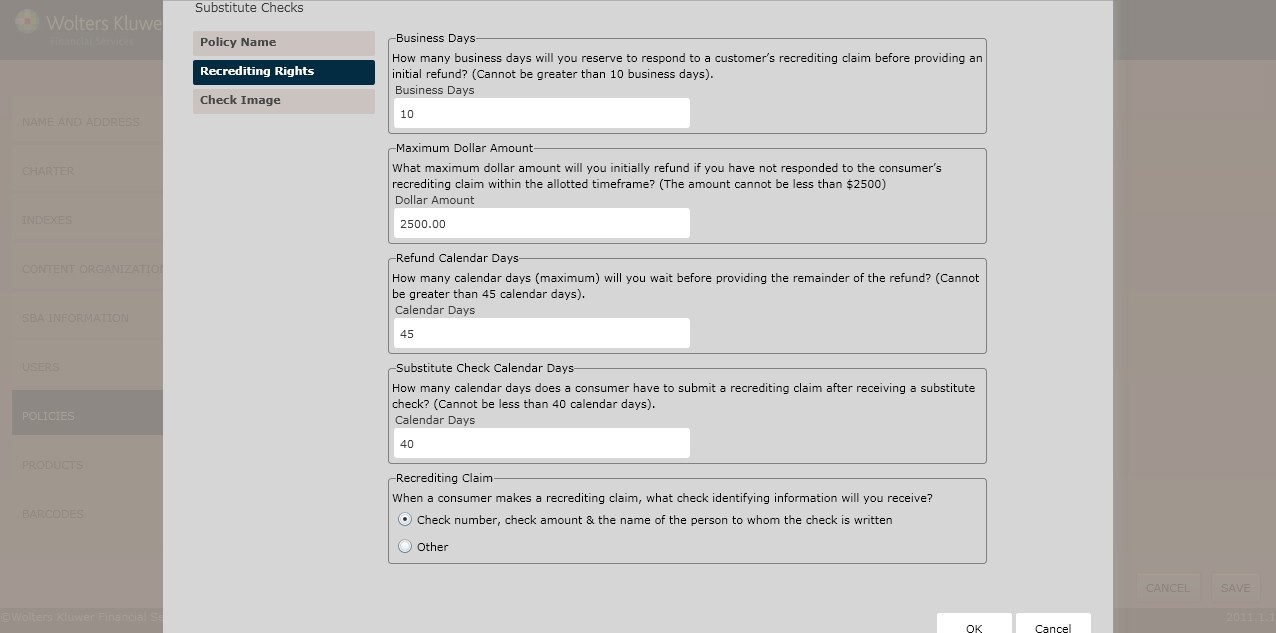
Business Days
Determine the number of Business Days to respond to a customer’s recruiting claim before providing an initial refund in the text box below.
Maximum Dollar Amount
Determine the Maximum Dollar Amount to initially refund if not responding to a consumer’s recrediting claim with the allotted timeframe in the text box below.
Refund Calendar Days
Determine the maximum number of calendar days to wait before providing the remainder of the refund in the text box below.
Substitute Check Calendar Days
Determine how many calendar days a consumer has to submit a recrediting claim after receiving a substitute check.
Re crediting Claim
Determine the appropriate check identifying information a consumer needs when making a Re crediting
Claim by selecting one of the following:
- Check number,check amount, and the name of the person to whom the check is written
- Other
- Enter additional check identifying information in the corresponding text box.
Check Image
The Credit Image page allows users to perform the following:
- Include a substitute check illustration
- Enter contact information substitute check expedited refund claims
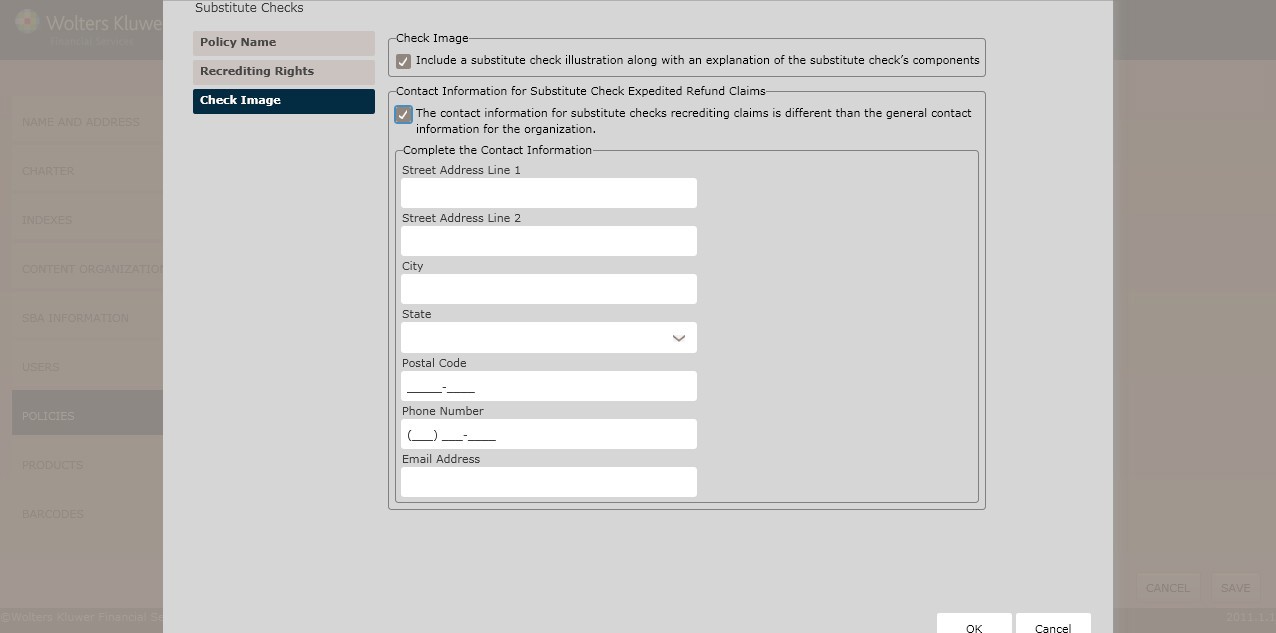
To include a substitute check illustration with a corresponding explanation, click the Include a substitute check illustration along with an explanation of the substitute check's components checkbox.
Contact Information for Substitute Check Expedited Refund Claims
If contact information for substitute checks differs from the organization’s general contact information, click The contact information for substitute checks recrediting claims is different than the general contact information for the organization checkbox. Complete the following contact information:
- Street Address Line 1
- Street Address Line 2 (optional)
- City
- State
- Postal Code
- Phone Number
- Email Address
- Click OK to complete the Substitute Check policy creation process. The policy is now available to OPPSA users.
How Do I View and Manage the New Policy?
For information on displaying, editing,copying or deleting policies, see Creating and Managing Policies.