Arranging and Docking Windows
Customizing the position of the various windows
- Pin document windows to the left of the tab well.
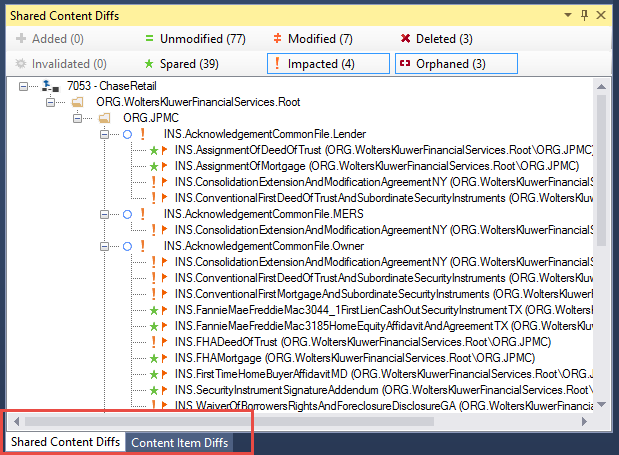
- Tab-dock windows to the editing frame.
- Float windows over or outside the environment.
- Hide windows along the edge of the environment.
- Display windows on different monitors.
- Reset window placement to the default layout.
Document windows can be arranged by dragging, by using commands on the Window menu, and by right-clicking the title bar of the window to be arranged. Toolbars can be arranged by dragging, or by using the Customize dialog box.
Floating Windows
Any document window can be undocked from the IDE and moved anywhere on the desktop.
To position a tool window or document window outside the IDE: Drag the window to the location you want.
Docking Windows
By default, document windows are arranged as floating windows in the environment. If you have customized your viewing configuration and select Window > Reset Window Layout the windows will be reconfigured in this manner.
- Click the document window you want to dock.
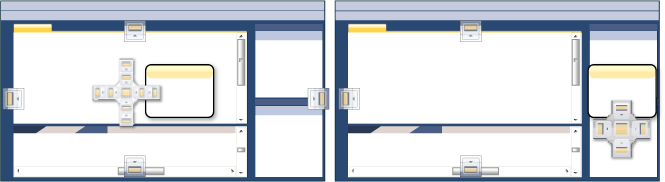
- Drag the window toward the middle of the environment. A guide diamond appears. The four arrows of the diamond point toward the four sides of the editing pane.
- When the window you are dragging reaches the location where you want to dock it, move the pointer over the corresponding portion of the guide diamond.
- To dock the window in the position indicated, release the mouse
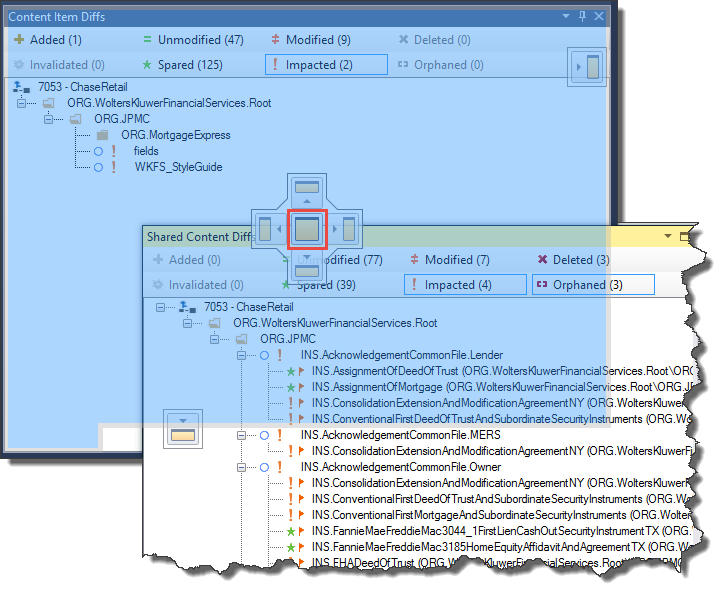
button.For example, if Merge Session is docked on the right edge of the environment and you want to dock it on the left edge, drag Merge Session toward the middle of the environment, move the pointer over the far left arrow of the guide diamond, and then release the mouse button. Alternatively, you can dock a tool window to a portion of one of the side walls of the environment by dragging it to the side until you see a secondary guide diamond. Click one of the four arrows to dock the tool window to that portion of the side wall. If you drag and release a window to the center of the guide diamond, the window will join the window in that location and the window titles appear as tabs.
Hiding/Minimizing Windows
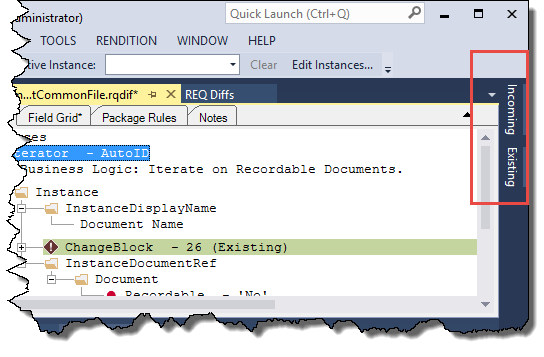
- Click the window you want to hide.
- On the Window menu, click Auto Hide. Alternatively, you can
click the pushpin icon (
 ) on the title bar of the window.Note: To turn off Auto Hide, click the window you want to keep visible. On the Window menu, click Auto Hide to clear the check mark. Alternatively, you can click the pushpin icon on the title bar of the window.
Resetting Window Layouts
- All windows are moved to their default positions.
- Windows that are closed in the default window layout are closed.
- Windows that are open in the default window layout are opened.
You can specify a different default window layout by modifying your current settings.
- On the Windows menu, click Reset Window Layout.
- In the message box, click Yes.