Creating a Custom View
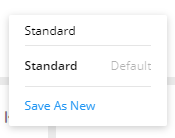
- On a task or reports grid, select Standard or other custom view from the
list.
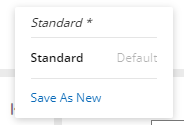
- Make changes using filters, sorting, column selection, and reordering. Note:The state of the selected view is changed to modified as indicated by the text in italics and the asterisk.

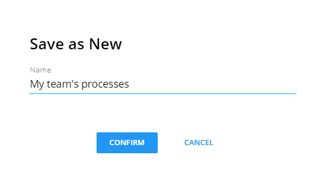
- To save the view, select Save As New.
- Enter a name for the new custom view select Confirm.
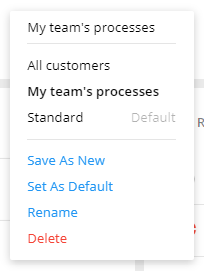
After the view is saved, it displays in the views list.
 Note:The custom view should have a unique name. If an existing name is entered for a view, ‘Copy’ is added at the end of the name.
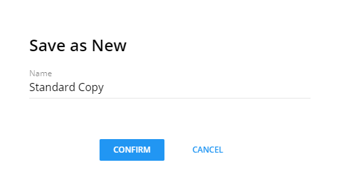 Note:A custom view name should be unique. If a view already exists with the same name, the text ‘Copy’ will be added.