Steps for Creating a Process Template
- Select Manage and Process Templates in the left pane.
- Select + Add New.
- Drag a Task, Decision, Gate, Stop, or Phase symbol to the canvas. As you drag items, move the arrows to connect the tasks. Select a link below for details about each item.
- Correct any errors.Note:If your process template includes errors, the
 symbol (the number refers to the number of errors) displays at the upper right on
the page. To correct the errors, select and
select an error. The error is selected in the workflow diagram and the Properties
pane displays for the error. Complete the missing information. To see details for
the error, hover over the .
You can correct errors at any time when creating a process
template.
symbol (the number refers to the number of errors) displays at the upper right on
the page. To correct the errors, select and
select an error. The error is selected in the workflow diagram and the Properties
pane displays for the error. Complete the missing information. To see details for
the error, hover over the .
You can correct errors at any time when creating a process
template. - Select Activate to activate and share the template at the same time. After a
process template is activated, it appears in the process templates
grid with a Ready status.
 Note:Select the # locations link to see all locations sharing the template. By default, the template is shared with all locations.
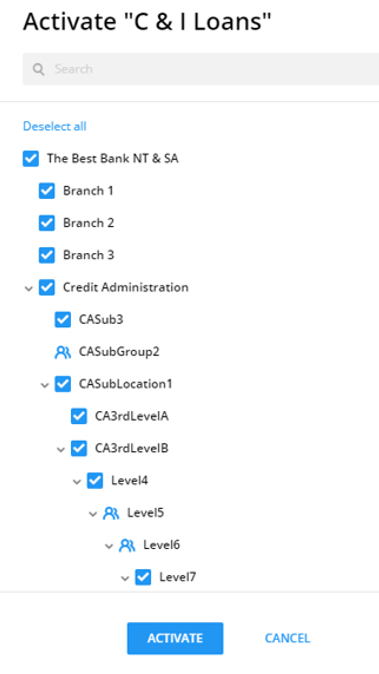 Note:After activating and sharing the process templates with the selected locations, the process can be used in CASH Workflow by selecting Start in the toolbar. After a process template is activated, it appears in the Process Templates grid with a Ready status. A user may change the sharing settings of a template by selecting Share Options on the Process Templates grid. For Help information, select Share a Process Template to user’s locations If there is a single location on the account and user is assigned to it, then the template activation popup with activating template locationswon’t be visible for this userwill be skipped (it will be automatically shared to this location, once user confirms Activate action). In other words, if locations concept is not utilized by a customer, all the templates will be shared with the default location without any specific action on user’s part