Creating a Revision History spreadsheet
Using Revision History Creator to create the spreadheet
Creating a Revision History spreadsheet requires you to
gather the repositories for both the previous and new versions. The repositories can
reside anywhere locally or on network. However for best efficiency, it is recommended to
place the repositories in the locations suggested in Suggested File Locations.
-
To start the application:
Note: This procedure assumes you are running the application on Windows 8 or 10.
-
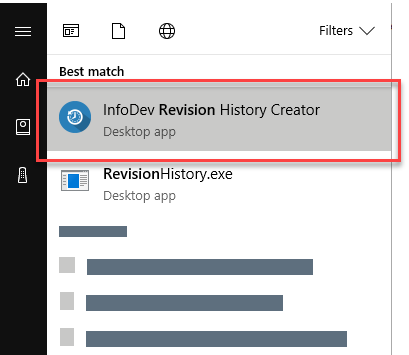
Begin typing "Revision History" until InfoDev Revision History Creator
is displayed in the search results, and press Enter.
The Revision History Creator screen is displayed: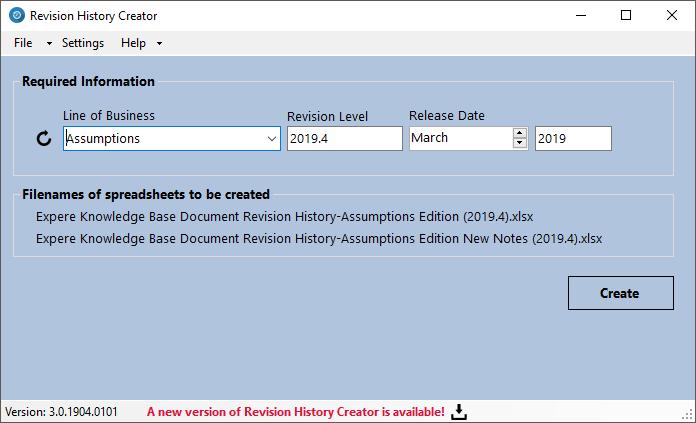
Note:- If you’ve just installed or updated, go to and click Quick Setup to set up your folders to the default locations.
- As you type in the Required Information text boxes or select list items, the Filenames of spreadsheets to be created filenames are automatically updated. This provides a visual indication of how the filenames will appear after creation.
-
Begin typing "Revision History" until InfoDev Revision History Creator
is displayed in the search results, and press Enter.
- Open the output location
- Verify the spreadsheet by double-clicking and reviewing the spreadsheet