Start to Finish Overview
This procedure is provided as an overview of the entire process of creating Revision
History spreadsheets using the Revision History Creator.
-
Install Information Development's Revision History Creator.
This application is designed to make the creation of the Revision History
spreadsheets easier and quicker.
Note: Revision History Creator is accessible via
the InfoDev Launcher. If you do not have InfoDev Launcher installed, please
contact an Information Development member for assistance.
-
Open Revision History Creator as described in Creating a Revision History spreadsheet.
-
Verify the folder C:\Expere_RevHst\Output is empty prior
to creating a new Revision History spreadsheet.
-
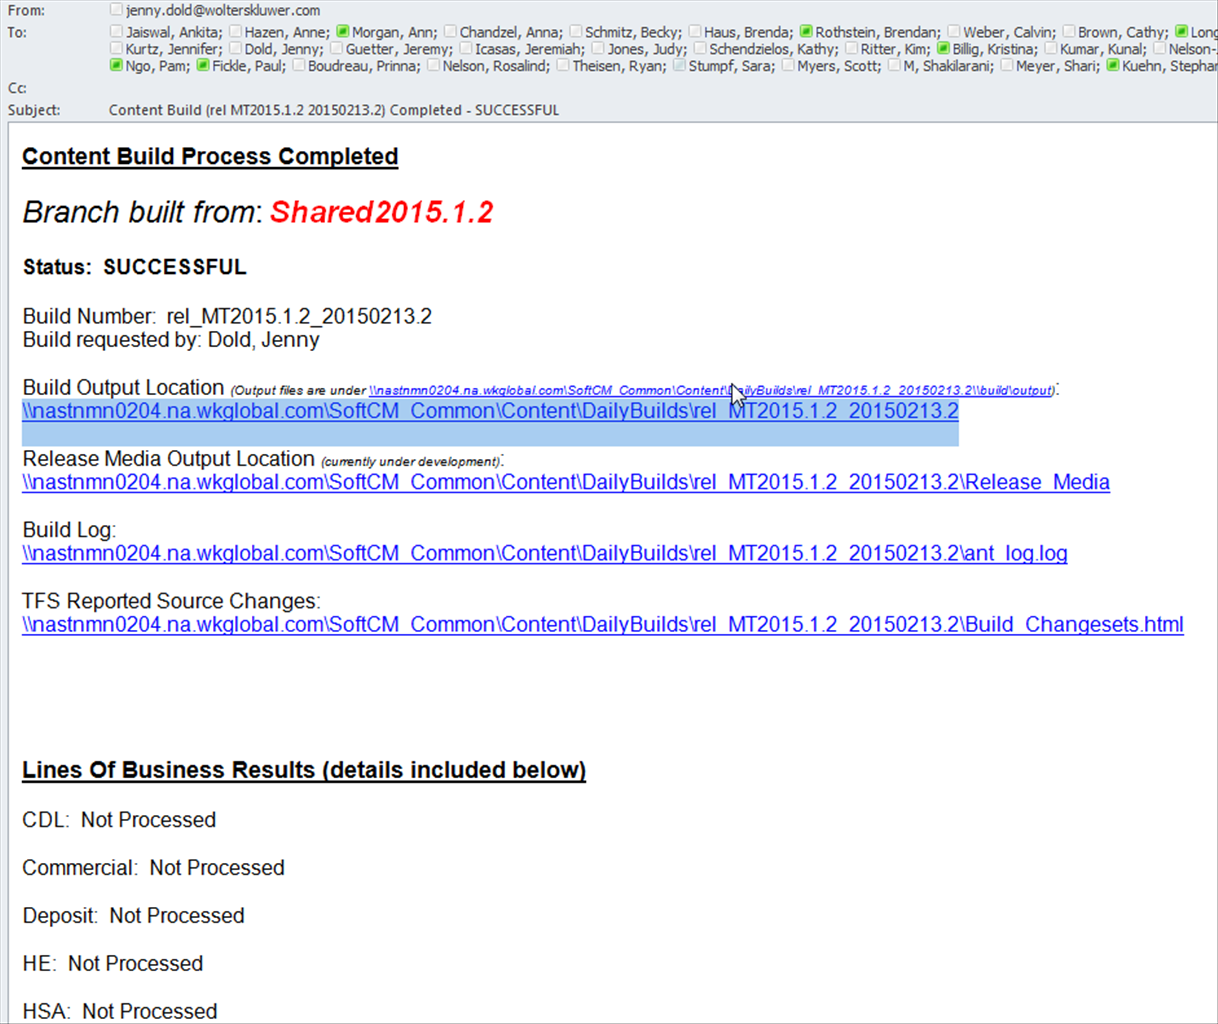
Open the most recent release email (shown below) for either Mortgage or
Pre-foreclosure (Mortgage is being used for this example). Click on the link
highlighted in blue.
-
Select the following:
\\nastnmn0204.na.wkglobal.com\SoftCM_Common\Content\Release
-
Find the most current Mortgage release (Ex:
2015-01-23MTCo2015.1.1_Release\ExpereRepository) and copy the contents of the
ExpereRepository directory to
C:\Expere_RevHst\PreviousRelease.
-
Within Revision History Creator, change the Release Date month and year.
-
Change the Line of Business to Mortgage (or the desired
LOB).
-
Enter the current revision level in the Revision Level text
box.
-
Select the correct Release Date month and year.