Using the Test Web App interface - Create Session using transaction data
This section explains the various fields and options within the primary Test Web App interface when running a CreateSession call. The steps outline the options used during a standard CreateSession call; options not typically used are noted in the procedure below.
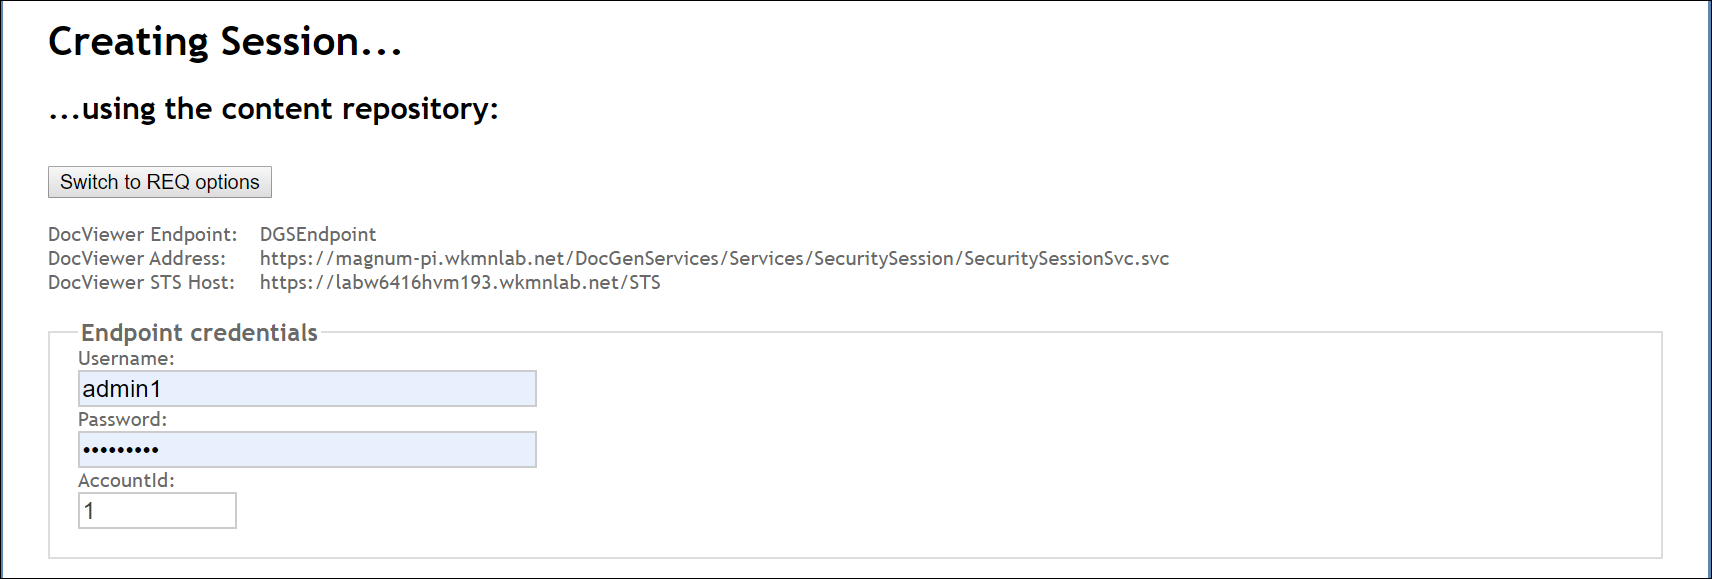
- By default, the Switch to REQ options button appears; to test with an .REQ file, click this button to display the Switch to repository options button.
-
Enter your Username and Password login credentials; enter a value
in the AccountId field.
Note: The login credentials you use correspond to a particular environment to which you are connecting. The AccountId corresponds to the STS account that contains content that you wish to access (for example, that of the EDS); this particular account id is used to resolve the alias.
-
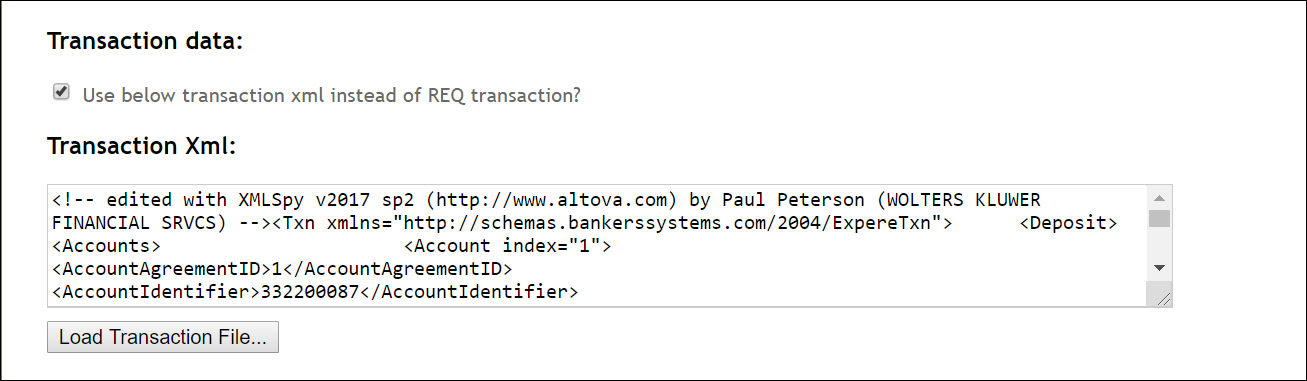
In the Transaction Data section, click the Use below transaction xml
instead of REQ transaction? checkbox to use transaction xml in the
Transaction Xml: field.
Note: This option should be checked; it is possible to load the transaction, then uncheck the checkbox; this will load an empty TXN instead.
-
In the Transaction Xml: field, you can either paste the contents of a
transaction within this field or click the Load Transaction File...
button to navigate to an .XML file; a check is then automatically placed in the
Use below transaction xml instead of REQ transaction checkbox.
-
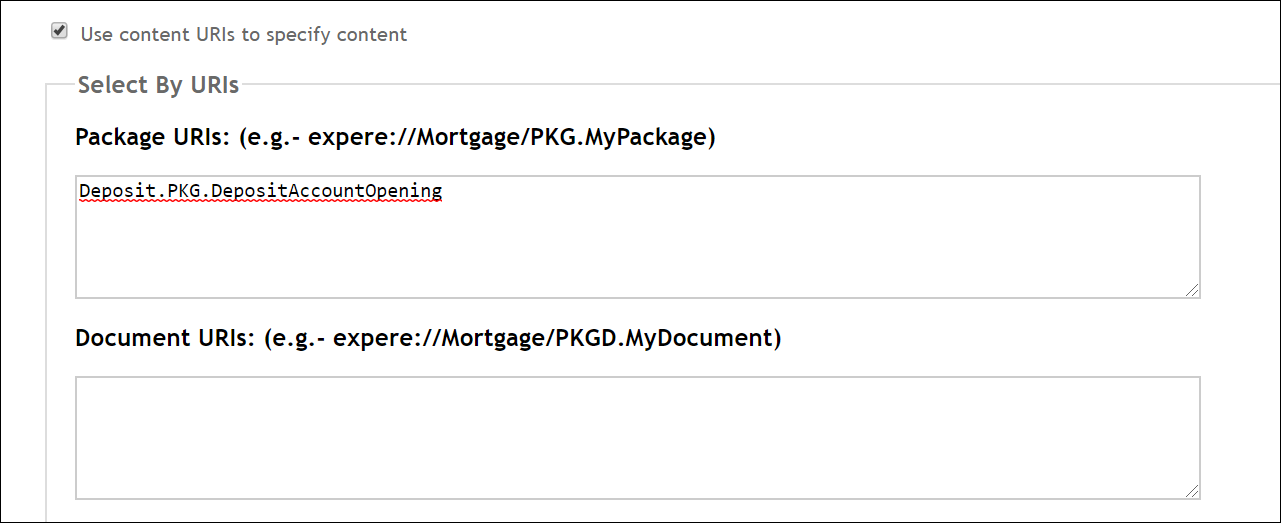
Click the Use content URIs to specify content; enter the appropriate URI
in the either of the following fields:
- Package URIs:Note: Example structure:
expere://Mortgage/PKG.MyPackageorDeposit.PKG.DepositAccountOpening. In Package URIs field include your package information; in some instances "expere://" must be placed at the beginning of content alias and package name. This will depend on how your library is configured. In most cases however, Document Generation Services will resolve the alias. - Document URIs: this will be used to specify one document with a
particular package.Note: Example structure:
expere://Mortgage/PKGD.MyDocument
- Package URIs:
- The Alias Name option is typically not used.
- If using an overlay dictionary, enter the Overlay dictionary name in the corresponding field. By default the Merge overlays to the parent checkbox is checked.
- The Additional XPaths: option is typically not used.
- The Supplemental REQ files (full path): option is typically not used.
-
The Document Order: option is typically not used.

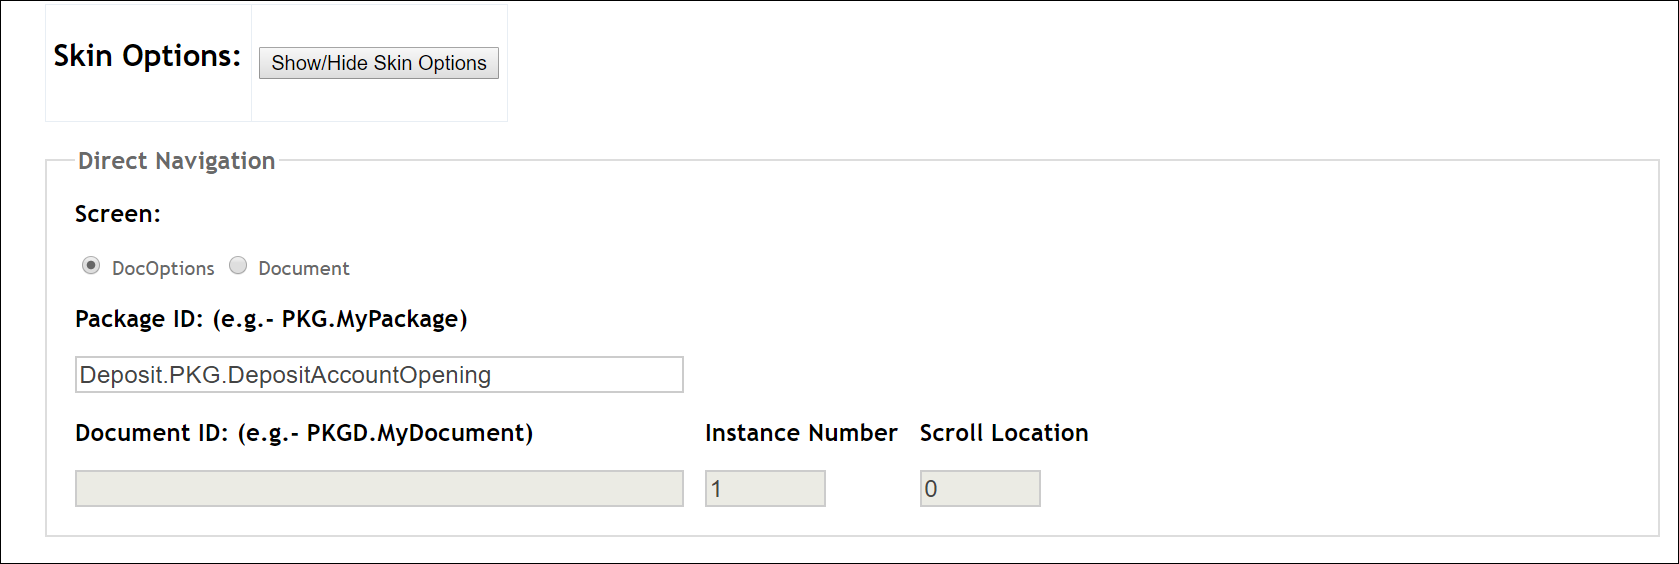
- To select Skin Options:, click the Show/Hide Skin Options button. For more information, see UI Customization.
-
In the Direct Navigation section, Select either the DocOptions
(*default) to enter a Package ID and immediately load the package of documents
in DocViewer or the Document option button to specify document a ID and
load a specific document.
- The Hide Timeout Message is not typically used.
-
In the Track XPath changes in transaction section, click either of the
following:
- Track XPath changes in transaction checkbox: this option allows
you to track what changed in your DocViewer session by iisting each XPath
(old and new value).Note: Users may preserve session changes by passing in a
changedDataPointsflag during aBeginSession, so that additional modifications may be applied to a new session. The record of changes appears after submitting documents or ending a current session on the End Session page within the Changed Transaction Data section. Users can continue to apply these same changes by selecting the Transfer changes to new session button on the End Session page then submitting achangedDataPointsflag during subsequent sessions.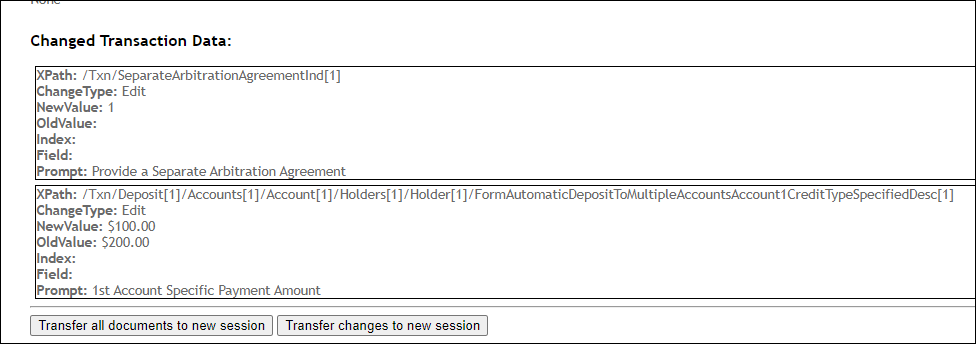
- Track XPath changes in transaction with index attribute checkbox: this option allows you to track which XPaths had value changes using an Index Attribute.
- Track XPath changes in transaction checkbox: this option allows
you to track what changed in your DocViewer session by iisting each XPath
(old and new value).
- Click the Support Required Data checkbox and either the Set filter for required documents or Set filter for optional documents checkbox to display either required or optional documents in the Document Drawer. This allows users to filter on documents within a particular package that contain either optional or required data points, or both.
- The value in the Redirect URL field is used to return to the original application calling data informing them of an EndSssion and provide a SessionID.
-
In the EZ Transform section, enter values for the following (if
required):
- a Stylesheet Name value
- a Stylesheet Version
-
In the Default Data section, enter values for the following (if
required):
- Organization Name
- Product Names
- Alias
- LOB
- The Show Events that TestWebApp is Receiving is not typically used.
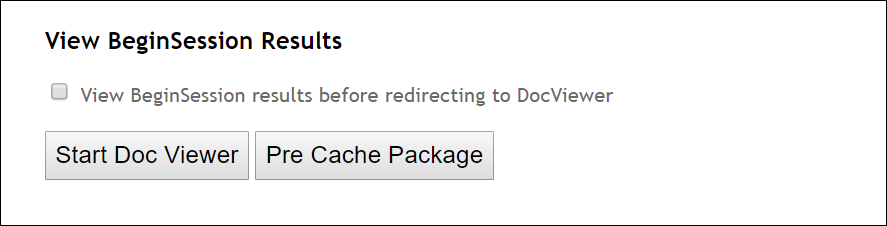
- Click the View BeginSession Results checkbox to first perform a call to obtain the Session ID, then start DocViewer.
- As DocViewer may be slow upon startup, click the PreCache Package button to cache the documents so Create Session process is faster.
-
Click the Start Doc Viewer option to launch DocViewer.