Custom Report Views
After selecting Reports in the left pane, the Funding/Pipeline view displays. The report can be defined by using filters, sorting and selecting options in lists to create a specific report. The Overview, Summary, and Details sections will change to show the new definitions for the report. The defined report can be saved as a custom view to be accessed again.
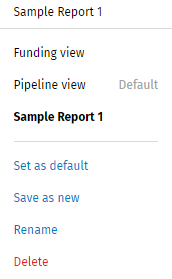
Report Views
- To switch between report views, select a report in the Views list.

- The default view for the Pipeline Report has Weekly selected in the Time list. The default view for the Funding View has Monthly selected in the Time list.
Renaming, Deleting, and Setting a Default View
An existing report can be set as a default, renamed, or deleted. Select a report and the applicable option in the Views list.
Creating a Custom Report View
- Select Reports in the left pane.
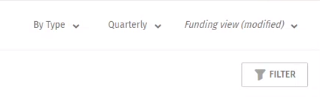
- Select options in the lists as applicable.

- The first list includes By Type, By Credit Type, By Loan Officer, By Organization, By Stage, and None options.
- The second list includes Weekly, Monthly, and Quarterly options.
- Select the filter icon.
- Select filter options as applicable.
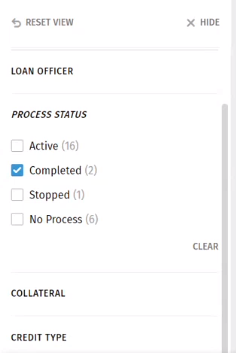 Note: By default, only opened transactions display in the view. However, the report can be filtered to display completed transactions by selecting Completed in the Status list.
 - Select a column heading to sort the grid. Select the arrow to the right of the heading to sort the column in a ascending or descending column order.
- After defining the report, select Save as new in the View
list.
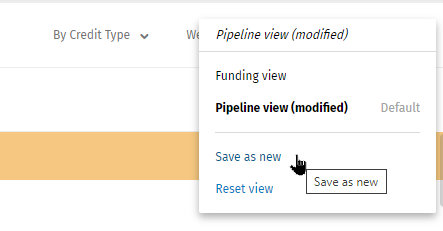
- Enter a name and select Save.Note:
- The newly created view will display in the View list.
- To remove the changes before saving, select Reset view instead of Save as New.
- Select Report Views for Help Information about views.