Enabling IP Filtering in Security Administration
Note: If this feature is configured incorrectly, all of your users may be blocked
from accessing the software. It is important to have someone with network
configuration knowledge involved in the implementation of this feature. Do
not modify the IP Address Whitelist during regular business
hours as users may be negatively affected if changes are made to IP
Filtering while using the software.
To enable IP Filtering in Security Administration, a permission must be added to the Manage Security Administration Account Role, the IP Filtering Whitelist must be set up (IP Addresses), and the IP Filtering feature must be enabled.
Adding the IP Filtering permission to the Manage Security Administration Account role
Before a user can configure IP filtering in Security Administration both of the following requirements must be met:
- The Manage IP Filtering permission must be added to the Manage Security Administration Account Role in Security Administration.
- A user must be assigned the Manage Security Administration Account role in Security Administration.
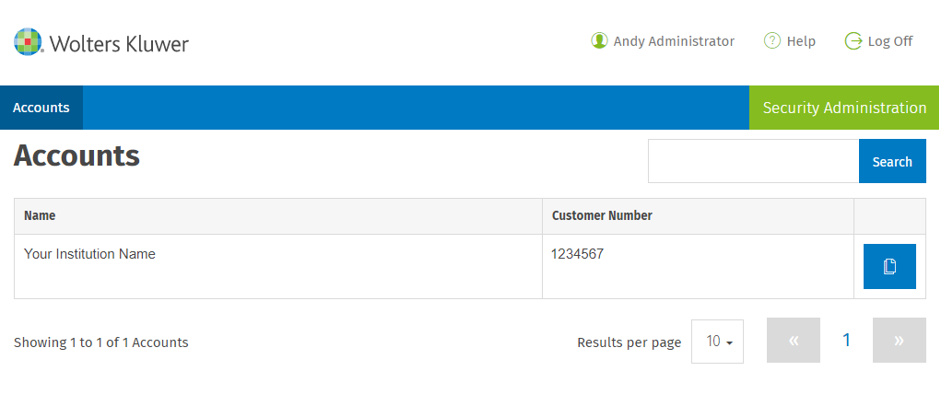
- Log in to Security Administration.
- Select the account on the Accounts page.
- Select the Roles tab and the Manage Security Administration Account role.
Either IPv4 or CIDR notation can be used. An example of IPv4 is 68.55.7.33,
and an example of a CIDR range is 160.109.104.44/24.
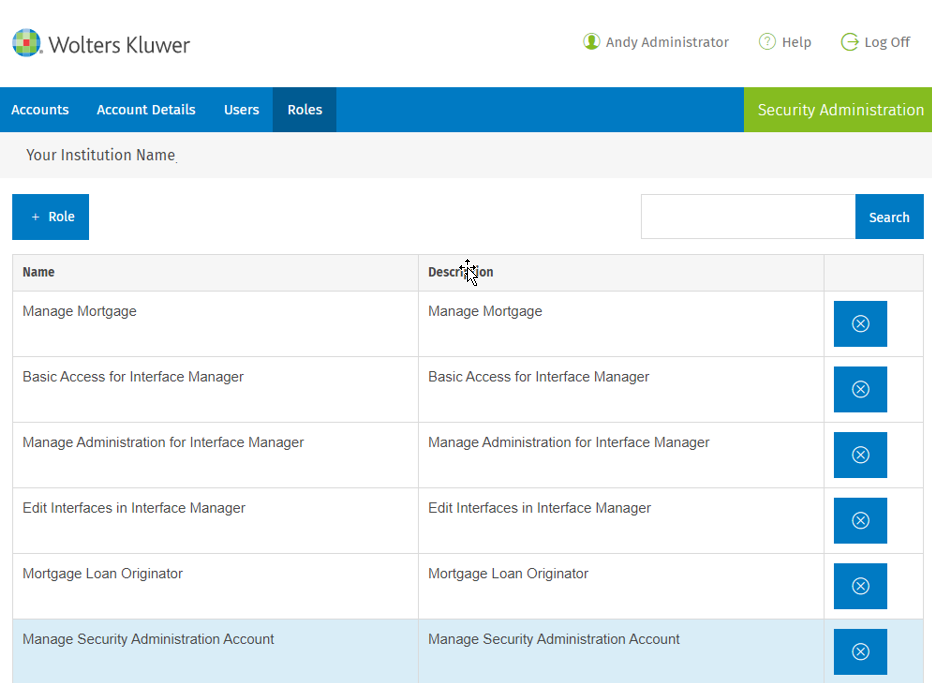
- Select the Manage IP Filtering permission.

- Select Save.
- Press F5 to refresh the page and display the IP Filtering tab.
Setting up the IP Filtering Whitelist and enabling IP Filtering
Note: If this feature is configured incorrectly, all of your users may be
blocked from accessing the software. It is important to have someone
with network configuration knowledge involved in the implementation of
this feature. Do not modify the IP Address Whitelist
during regular business hours as users may be negatively affected if
changes are made to IP Filtering while using the software.
- Select the IP Filtering tab Security Administration.
- Select
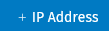 to add an
address.
to add an
address. - Select
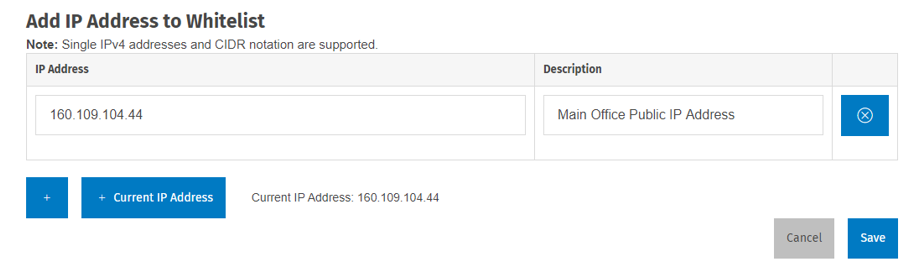
 to add your current
address.
to add your current
address.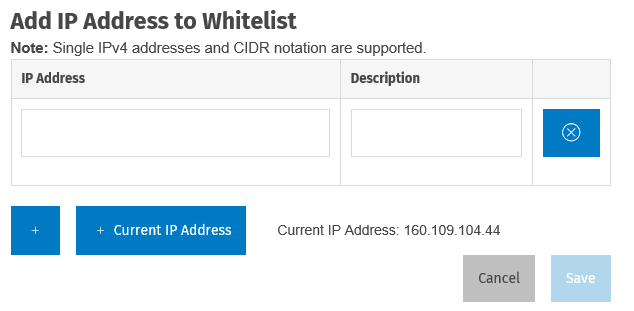
- Enter a description.
- To add additional addresses, select
 . Enter an address and
description. Repeat for additional addresses.Note: To delete an address, select
. Enter an address and
description. Repeat for additional addresses.Note: To delete an address, select next to an
address.
next to an
address.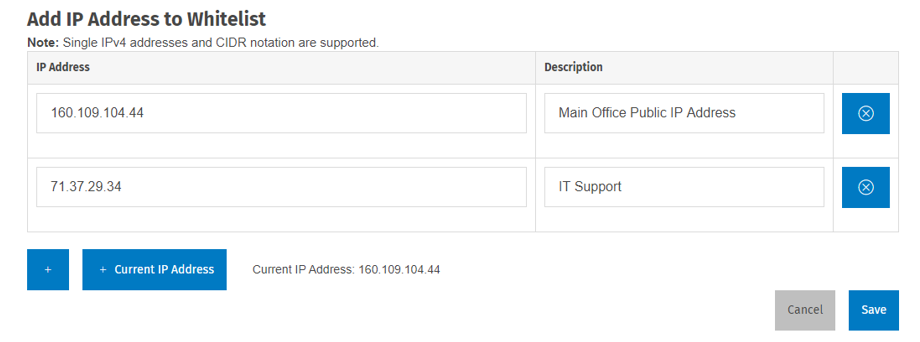
- If an invalid addresses is indicated, correct the addresses. IP
Filtering cannot be enabled unless all addresses are
valid.

- Select Enable IP Filtering.
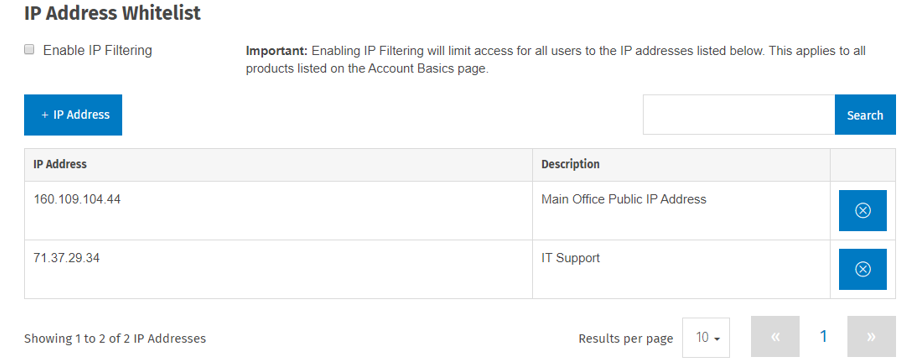
- Select Confirm to activate IP Filtering.

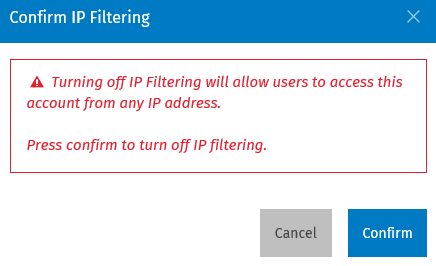
Disabling IP Filtering
To disable IP Filtering, navigate to the IP Filtering tab for an account. Clear the Enable IP Filtering option. Select Confirm on the Confirmation message.