Installing Requirements Editor
- Ensure the target computer has the prerequisite components installed and meets the system requirements defined in Requirements Editor Installation.
- Install the VC++ Redistributable.
-
Navigate to the RequirementsEditor folder on the CD or
location of the installation files on the target machine.
- Install directly from the Expere Authoring CD (\\RequirementsEditor folder)
- Copy the installation file (RequirementsEditor3.msi) to a folder on the target machine.
Note:To view the version number of the installation file, right-click the installer file (RequirementsEditor3.msi) and select Properties, and then the Details tab.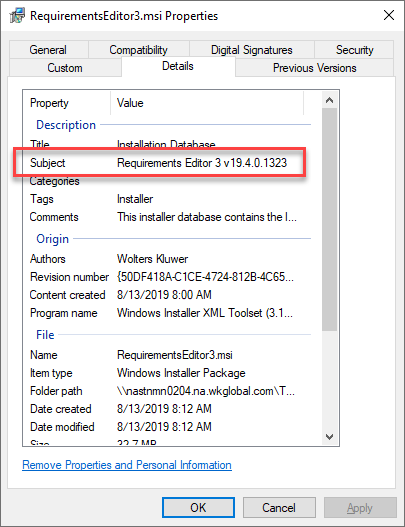
-
Select and open RequirementsEditor3.msi.
Note:Requirements Editor requires the Expere Engine to be installed. If you do not have the Expere Engine installed prior to this procedure, you will receive the following message.
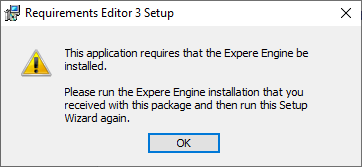
If this occurs, cancel the installation, install the Expere Engine and perform this procedure again.
-
The installation program first checks your system to ensure disk
space and dependencies with any other Wolters Kluwer applications installed on
your computer. Standard Windows Installer errors are returned if any are
encountered. Once complete, Requirements Editor Setup Wizard dialog opens.

-
Select the valid licensing agreement option and then
select Install. Select the Advanced button to change the default
installation path or product features. Refer to About Advanced Installation Options for details. To proceed with the
installation, select Install.
The installation wizard begins the installation process. This may take several minutes. Progress is displayed during installation.

-
When installation is complete, the completion message is
displayed.
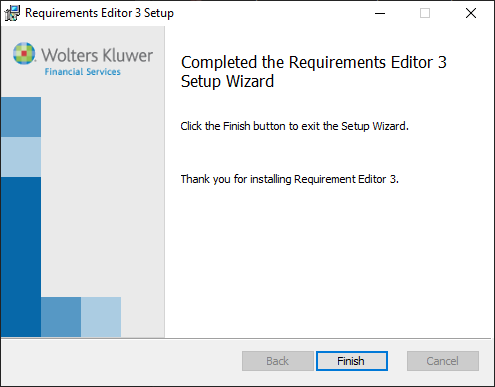
Select Finish.The installation wizard closes and Requirements Editor is successfully installed on the machine.