To create an invitation:
- Click the Registration link from the Support section of the navigation menu. The Invitations to Register screen is displayed.
- Click Add New.
- The Invitation Group screen is displayed, showing a list of currently configured groups.
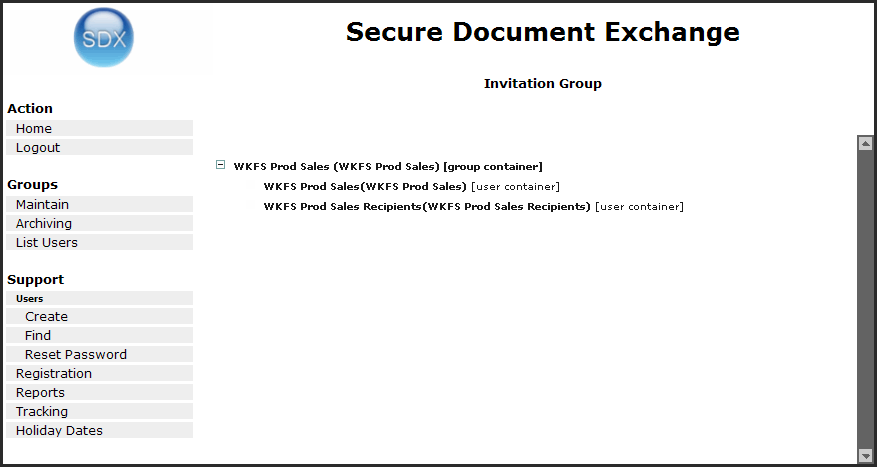 Note: You may need to expand group containers to view subgroups. The above image displays the top level group expanded.
 - Click on the link for the group to which you wish to invite users. Be sure to select a user container and not a group container. The Create Invitation screen is displayed.
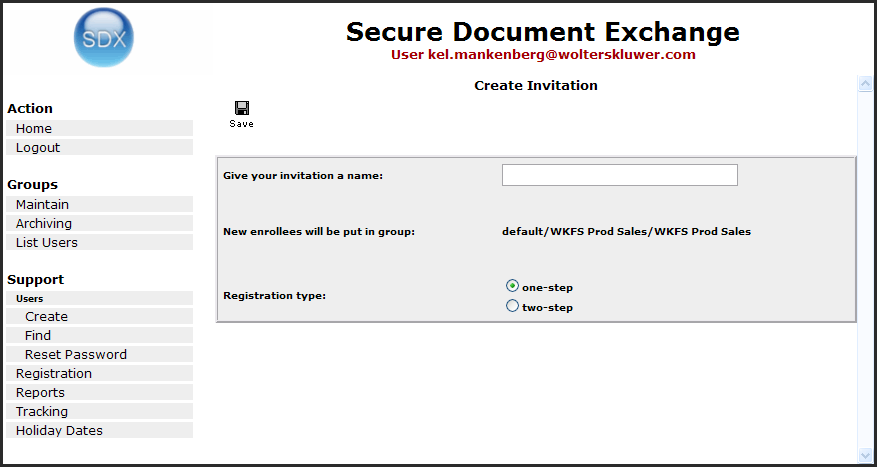
- Enter a group name for the invitation. (review note: provide some descriptive examples)
- Select the Registration type.
- One-step - requires the user to complete one registration screen and set a password to become registered.
- Two-step - requires the completion of an information screen; but then will instruct the user to check their email. This is comprised of the following phases:
- An Invitation to Register is activated and invitation e-mails are sent out.
- A user receives an invitation e-mail and clicks on the link to accept the invitation.
- The user fills in the security information form.
- The user receives an e-mail containing the link to complete the registration and clicks on the link.
- The user fills in the registration form.
- The user is registered into the system.
- The user is taken to the login page.
- Click Save. The Create Invitations - Invitees screen is displayed.
- Add invitees to the group. This is done by one of the following methods:
- Individual: For each invitee, enter an individual email address in the Invitees text box and click the green plus button (). You can remove an email address by clicking the red X button ().
- Bulk Upload: Click the Browse button to locate and select a pre-prepared text file. The text file must contain the users email addresses separated by a comma. When selected, click Upload. A screen displays and indicates whether the email addresses are valid or invalid. Click Add Invitees to add all valid email addresses to the list. The system indicates the users are added to the invitee list. Click the Back button to return to the Invitees screen. Note:The system checks for duplicate email address in Bulk Upload mode. Duplicates will not be added to the list again. This allows you to maintain a single bulk email text file to be reloaded periodically; only the new email addresses will be added to the invitation list.
- When all invitees have been added, click Activate. A confirmation message is displayed. Note that if you have not finished adding all users to your invitation list, or you are not ready to send invites, click Back. The system saves the list of invitees until you are ready to activate them.
- Click OK. The Invitation Detail screen is displayed.This screen provides a Notified date, which is the date the notification email was sent; and an Enrolled status. Once the user registers on the SDX site, the Enrolled status changes to the date on which the user registered. You can delete the email address from the group by selecting the Delete check box and clicking the Delete button at the top of the screen. You can also add additional users to the registration group. review note: Clarify why it would be useful to delete an email from the group after it has been activated - to clean the list? If deleted once enrolled does this simply clean the registration list, or remove the user from the system? If an email that has not been enrolled yet is deleted, what happens if they then click through from the email they received and attempt to enrol?