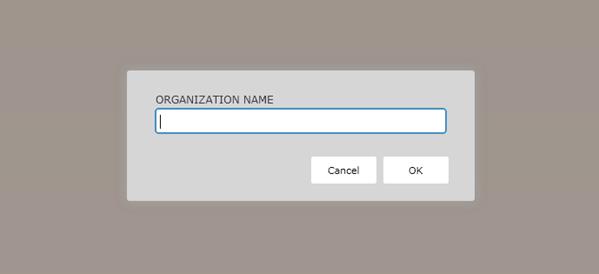
This section describes how to create a new organization. Move your cursor over the root organization and click New. The Organization Name dialog box displays. Enter a name for the organization and click OK. The Name and Addressscreen displays.
The Name and Address screen allowsyou to enter the following information for the organization:
§ Legal Name
§ Address
§ Phone Numbers
NOTE: On the Name and Addressscreen, you cannot change the Short Name, whichis enteredin the Organization Name dialog box when the organization is created.
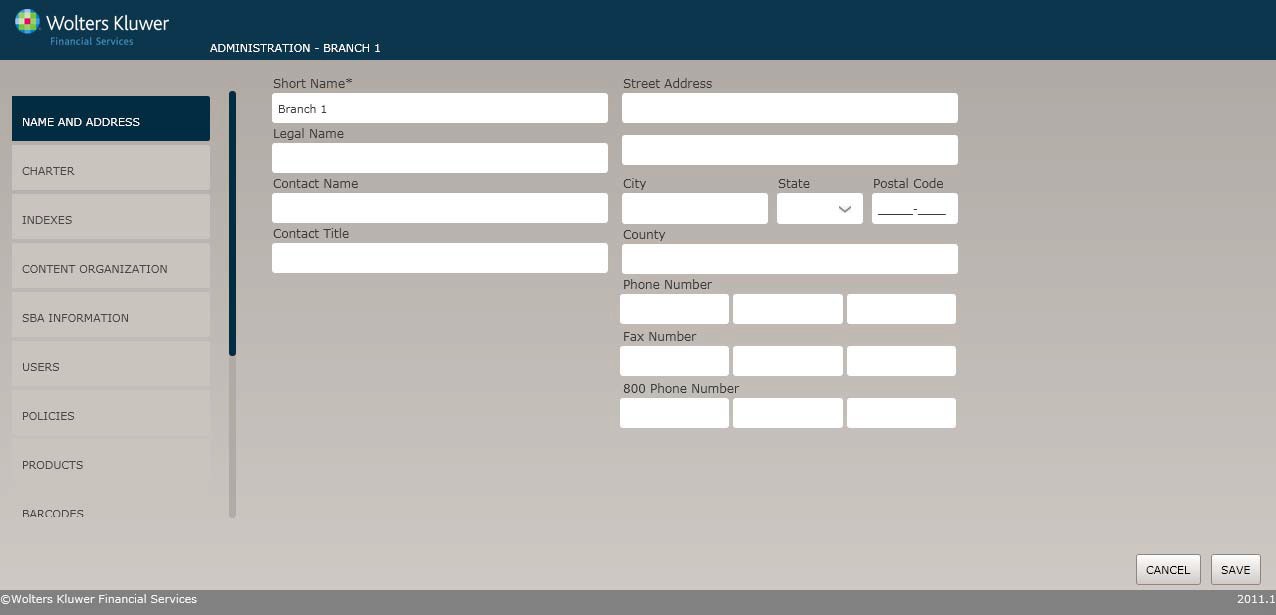
Enter the followinginformation:
§ Legal Name,Contact Name, ContactTitle
§ StreetAddress, City, State,Postal code, County
§ Phone Number,Fax Number, 800 Phone Number
§ Click Save. Click Cancel to returnthe Organizations screenwithout saving.
The Charter screen allows you to specifydetailed information regarding the organization type.
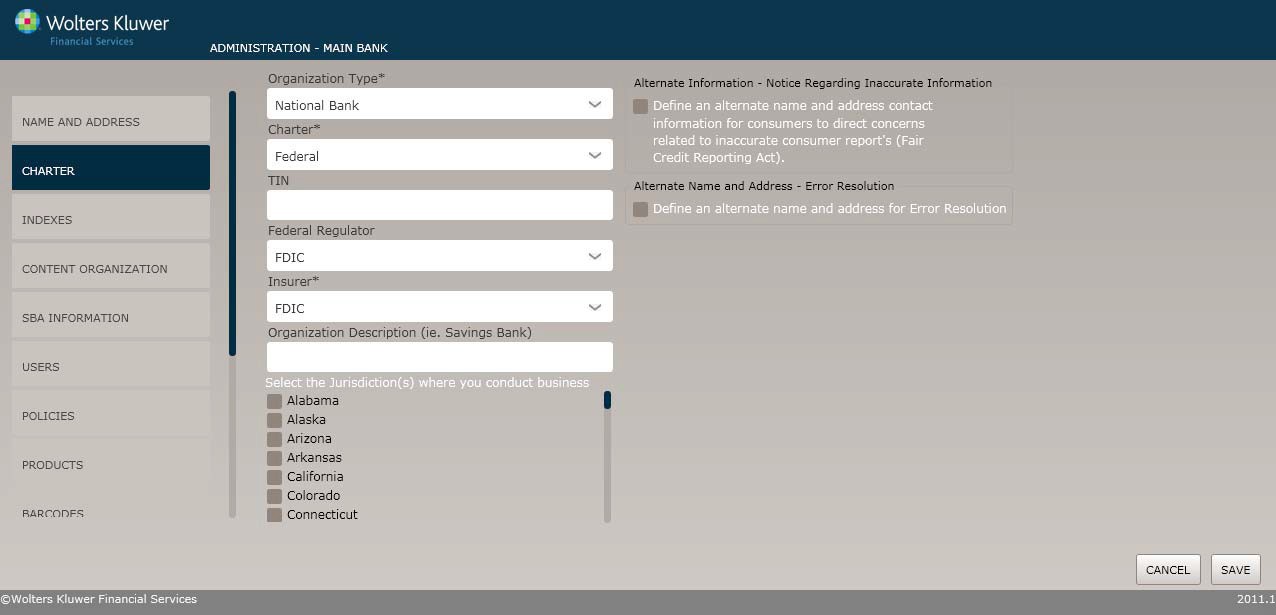
1. In the Organization Type dropdown box, select one of the available options.
2. In the Charter dropdown box, select one of the following: Federal,State.
3. Enter a TIN.
4. In the Federal Regulator dropdown box, select one of the following: FRB, FDIC, OCC.
5. In the Insurer dropdown box, selectone of the followingInsurer(s): FDIC.
6. Select the desiredJurisdiction(s) by clickingthe state in the checkbox.
This screen allows users to specifyindexes for the organization.
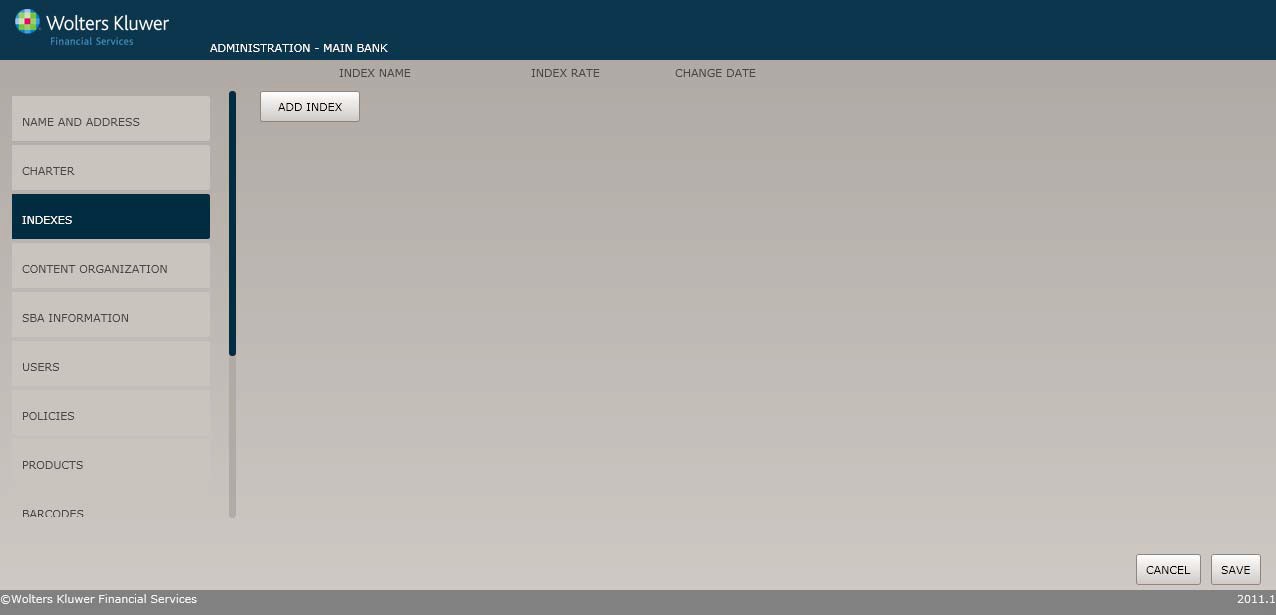
1. Click an existingindex to edit it or click the Add Index button to create an index.
2. Complete the followinginformation: Index Name, Index Rate, ChangeDate.
NOTE: Move your cursor over an index and select Remove todelete it
3. Click Save.
4. Click Cancel to return the Organizations screenwithout saving.
This screen allows users to specify a content organization for the organization they wish to create. For information on creating, displaying or deleting organizations, see Managing Organizations, earlier in this guide.
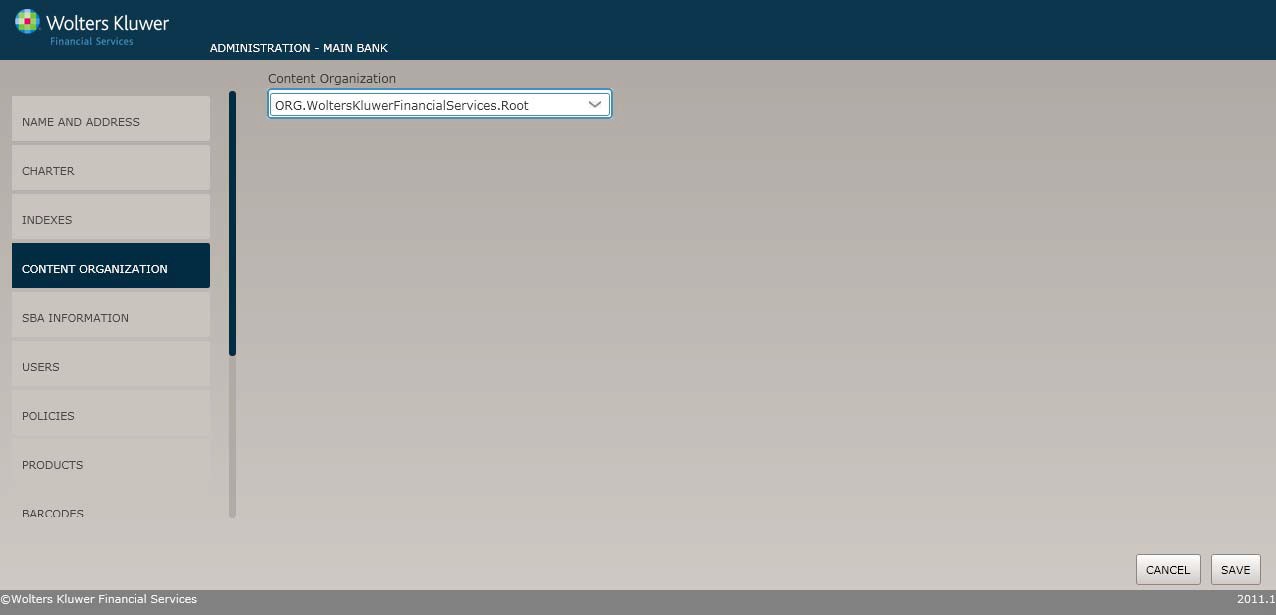
1. Select an organization from the ContentOrganization dropdown.
2. Click the Save button. The Organization is now available to OPPSA users.