Creating a Pub Assist Profile

This topic explains how to create a profile for Pub Assist.

When you first run DITA Tools including the Pub Assist feature, there are no profiles to work with. You will need to create a profile that pertains to your own projects.

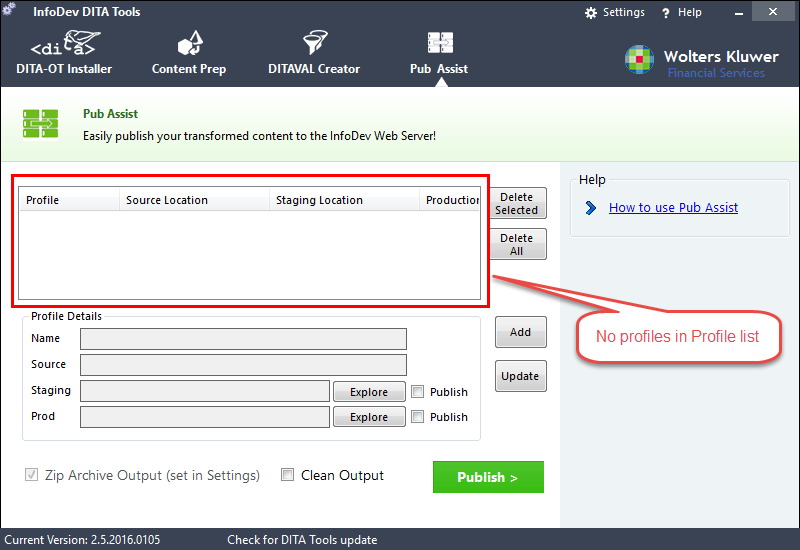
To create a profile:

  1. Within DITA Tools, click Pub Assist.
    The main Pub Assist screen is displayed
  2. Click Add.
    The Add/Edit panel slides into view.

  3. Enter the name of the Profile. (ex. DGS Release Notes)
  4. Enter the location of the transformed files. This would be the webhelp output files created by Oxygen.
  5. Enter the location for the Web Server staging folder. (ex. H:\staging\Expere\DGS\ReleaseNotes\)
  6. Enter the location of the Web Server production folder. (ex. H:\DGS\ReleaseNotes\)
  7. Click Add.
    The profile is added to the Profiles list in the main Pub Assist screen.