Enter topic summary (Optional) - remove all text if not used
Choosing the Edit Instances option from the Rendition menu brings up a dialog box that allows you to add, copy, remove, and edit instances associated with a given document. In addition to the Rendition menu, you can open the instance editor by clicking the Edit Instances button on the Rendition toolbar.
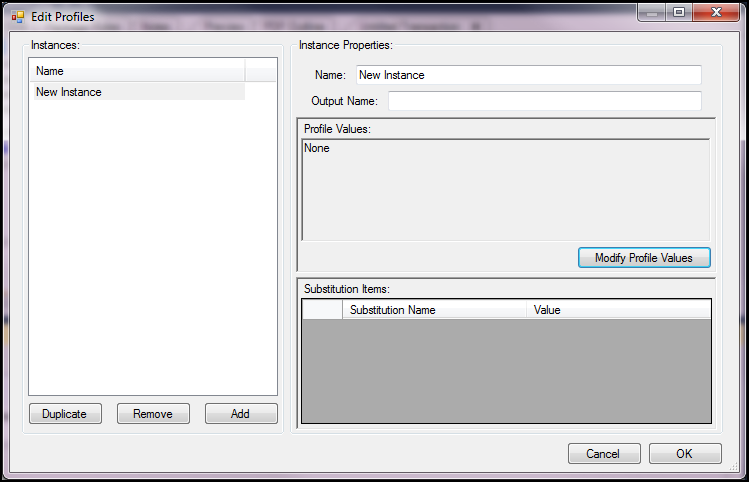
When an EPM REQ file is created that will produce static document instances, those instances need to be defined using profile values and substitution name values. One instance definition will be created for each static document to be produced.
The instance name should be the form number, for example NDaS-SI-SD. The Output Name should be the E-Form file name if the instance will be producing an electronic form. For the preprint or paper documents the full form name should be used as the Output Name.
The profile values are set for each instance by selecting the instance you are defining from the instance list on the left (or create a new one by clicking on the Add button) and than clicking on the Modify Profile Values button in the middle of the screen.
In some cases it may be faster to create your first Instance and then use the Duplicate button found on the Edit Profiles screen below the Instances list. This option copies all of the values (Name, Output Name, Profile values and Substitution Values) for the instance you have selected and creates a new instance with the same name followed by (2). You can rename the new instance and modify the values as needed.