Follow the steps below to create an Impact Analysis Report:
- Select Tools>Impact Analysis. The Folder Selector window appears, allowing you to select the incoming (new) content repository.
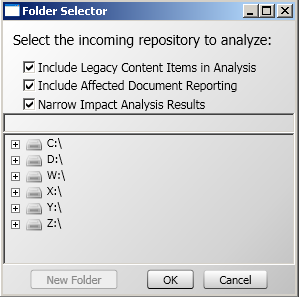
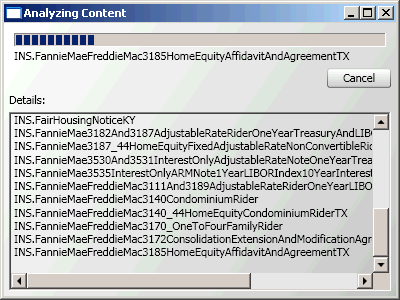
The Folder Selector window allows you to select checkboxes for including Legacy Content Items and Affected Documents information in the report. Information for the option(s) you select displays in the Impact Analysis report, as well as in the Differences Tool, discussed later in this procedure.If you select the Narrow Impact Analysis Results checkbox, the Narrow Impact Results window displays and allows you limit the Impact Analysis by selecting the precedence unit(s) and/or document(s) from the repository to analyze. On the Narrow Impact Results window, select the precedence unit(s) to include in the report. - Click OK.The Analyzing Content window appears. The status bar at the top indicates the report creation status. The Details box lists the files being analyzed.
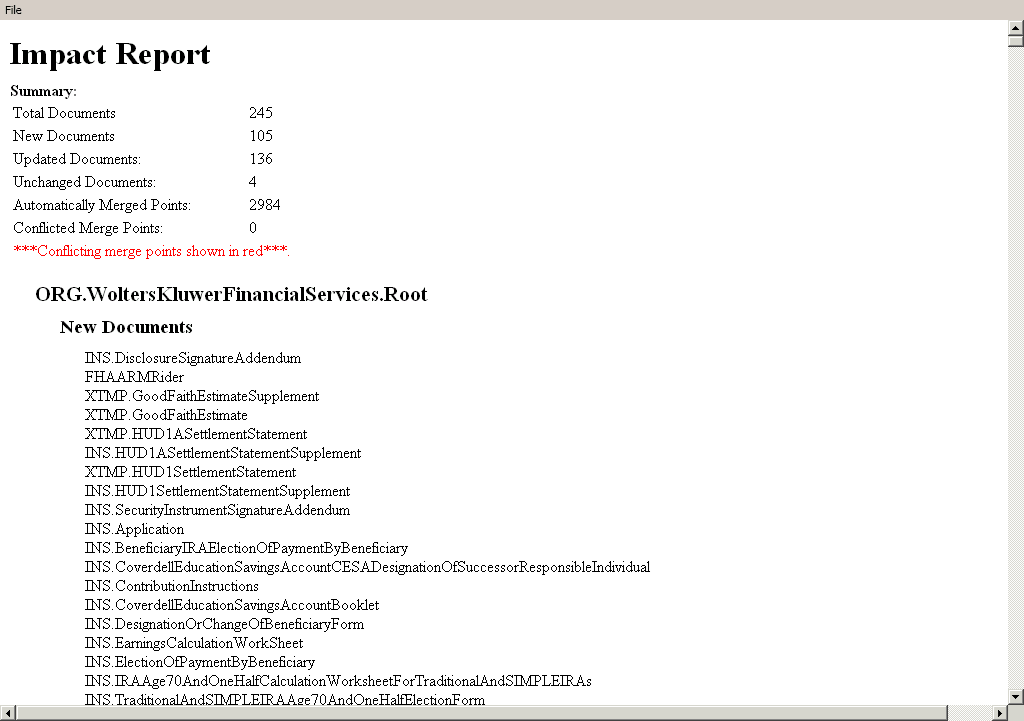
When the analysis is complete, the Build Complete window displays the Impact Report.