Professional Services assists users with the SDX Onsite installation.
To install SDX-Onsite:
-
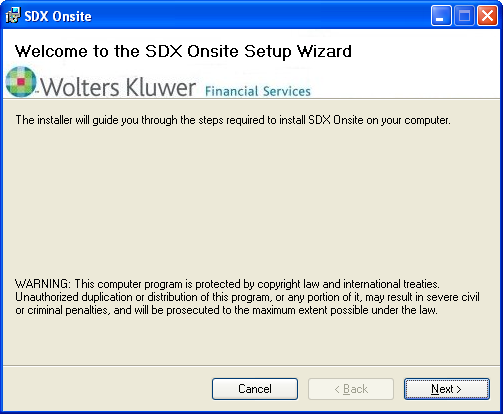
Double-click the SDX-Onsite installation
file (setup.exe) that was provided to you. The installation welcome screen is
displayed.
-
Click Next. The Optional Service Account screen is displayed.
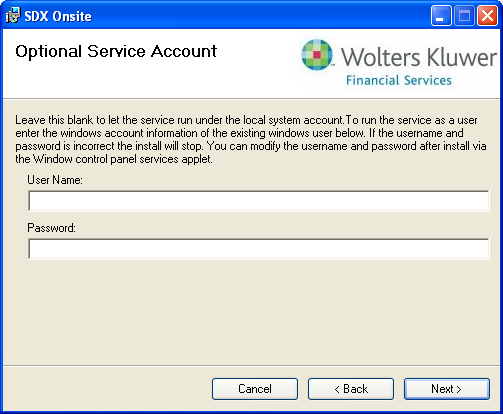
If you wish to use the account that you are currently logged on to, leave the User Name and Password fields blank. If you wish to use a different account, supply the user and password accordingly.Note: The account used to access SDX-Onsite can be changed any time after installation by accessing the Log On tab of the Secure Document Exchange Onsite Properties dialog within the Control Panel Services applet. -
Click Next. The Select Installation Folder screen is displayed.
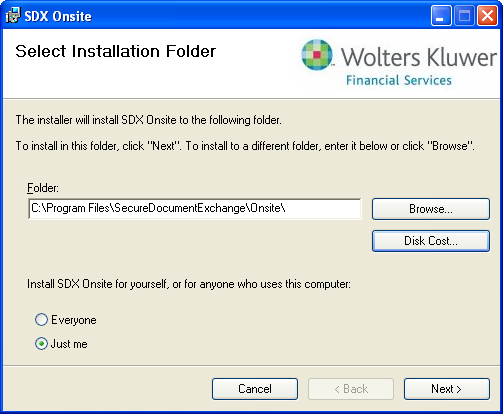
Note the following:- To select an installation folder other than the default location, click Browse.
- Click Disk Cost... to view a list of all system drives that you can install SDX-Onsite to as well as their disk size and available space.
- Selecting the Everyone option provides access to SDX-Onsite to every account on the computer. Selecting Just me makes the application available to only the current account.
-
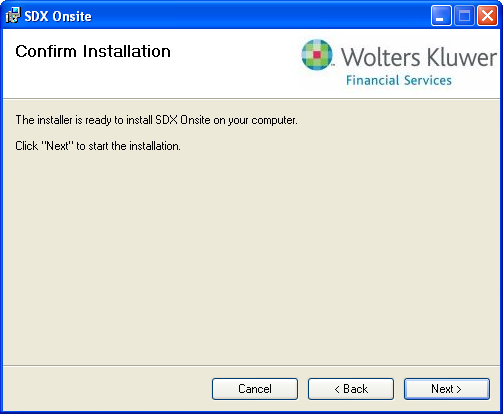
Click Next. The Confirm Installation screen is displayed.
-
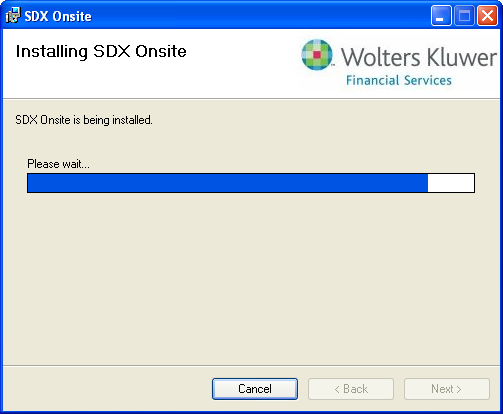
Click Next. The installation progress is displayed.
When finished, the Installation Complete screen is displayed.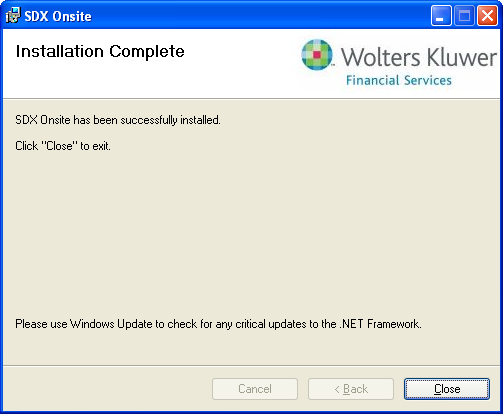
-
Click Close. SDX-Onsite is
automatically launched.
Note: While SDX-Onsite is running, the application icon
 can be found in the
Windows system tray.
can be found in the
Windows system tray.