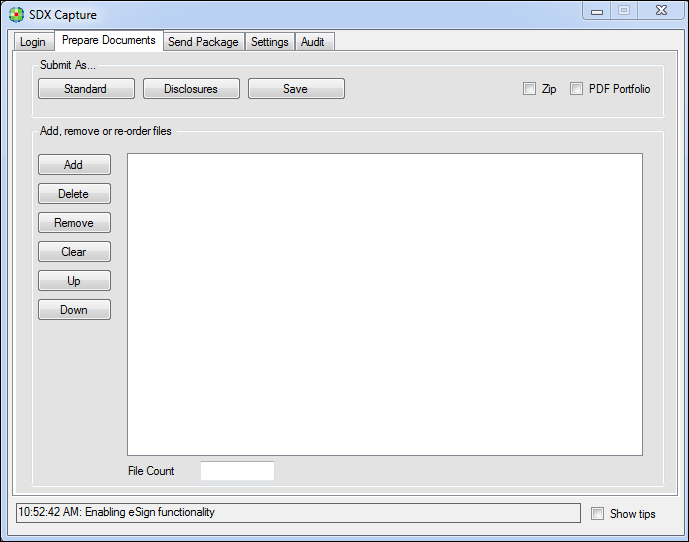
To send a document package:
-
Click the Send Package tab.
-
Type the e-mail address of your customer in the To box.
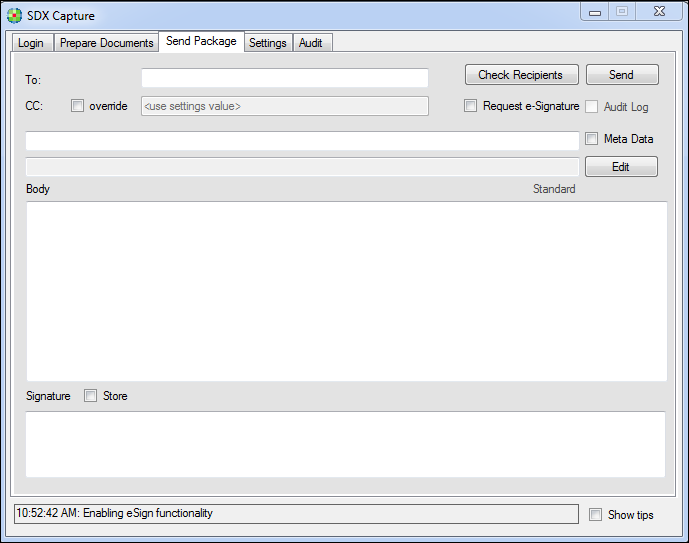
Note: You can CC (Carbon Copy) an additional person either by entering the
person’s email address in the Always CC box on the Settings
tab or by selecting the override check box on this tab and entering
the email address. Carbon Copy in SDX allows users to send email
notifications (for example, package submission and package opened
notifications) about the SDX package to persons other than the primary
package recipient.
-
To ensure that the e-mail address of your recipient is registered with SDX,
click Check Recipients.
Note: If the system is configured for auto-create, you can still send a package
to a non-registered recipient.
-
Enter the Subject in the corresponding text field.
-
Any additional information that you entered for either a standard or a
multi-signature package appears in the read-only field below the subject line,
and it will append to the subject when you send the package. To modify this
information, click Edit.
-
If you want the recipient to e-sign for the package, click the Request
e-Signature check box.
Note: This feature is disabled if the eSign feature is not configured in your
SDX site.
-
If you want to include an audit log with the package, click the Audit
Log check box.
Note: To use the audit log functionality to eSign IRS Form 4506T, the package
must be submitted as a Disclosure so the consent text is captured, which is
an IRS requirement. The Standard window functionality does not capture the
consent text.
-
If you want to include the Meta Data of your document package in the subject
line of your message, select the Meta Data check box. For example:
Reference Number=123456789:Borrower
Name:Smith
Note: On some skins, the Meta Data check box will automatically select
itself. It is read-only in these instances.
-
Enter your message text in the Body field. You can also enter your name
and personal information in the Signature field. To save your signature,
select the Store check box.
Note: Saving your signature configures Capture to auto-populate the signature
information on all future messages sent from Capture.
-
To send your document package, click Send. The Send Package tab
reverts to the Prepare Documents tab, and you can prepare new documents
or exit SDX Capture. The system responds by displaying the Prepare
Documents tab and displays package tracking information in the bottom
message.