To create document packages, follow the steps below. Insurance users have the option of using the Multi Signature (described below in Step 6) work flow.
-
To add a document, perform either or both of the
following:
- Add a local document:
- Click the Add button.
- Browse for and select the file you wish to add. The selected Local document and its path appears in the document list preceded by [L] (see below).
- Add a printed document:
- Open any document in its client application (i.e. Microsoft Word, Adobe Acrobat Reader, etc.).
Note: If you want a consent or eSign watermark, or use WKFS optional paper fulfillment services, the documents must be in PDF format.
- Print the document using the SDX-Capture printer.
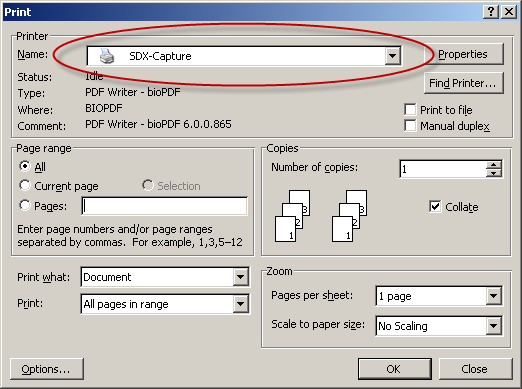
The selected Printed document and its path appears in the document list preceded by [P] (see following image).
- Select the Zip check box to combine all attachments into a single
zip file to save to your desktop. This must be selected to save multiple
documents simultaneously.Note: This option does not send your documents electronically, but saves them to your desktop in a single zip file for later access.
- The PDF Portfolio option is not currently available; however, it will operational in a future release.
- To delete a printed document (preceded by [P]), select the document and click Delete.
- To remove a local document (preceded by [L]), select the document and click Remove.
- To purge all documents from the list, click Clear.
- Documents in the list can be moved up or down in the list by selecting the document and then clicking Up or Down.
- Add a local document:
-
To send your documents via a regular package, click the Standard button.
The following dialog appears:
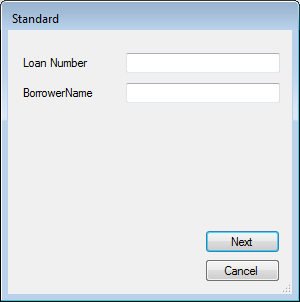
Note: These fields will be configured per your implementation check list and may vary per customer.- Enter the Loan Number and Borrower Name in the fields provided and click Next. The Challenge Questions dialog displays.

- If you wish to use package-level security on the package you are sending, enter one or more answers for the security questions. Click Next. If you wish to send the package unsecured, click Skip. Both buttons will display the Send Package tab.
Note: This challenge question box displays only if you requested this in your requirements gathering session with your Wolters Kluwer representative. These question(s) may vary and will be configured per your implementation check list. -
If you wish to send eDisclosure, click the Disclosures button. You will
need to provide additional details about your customer.
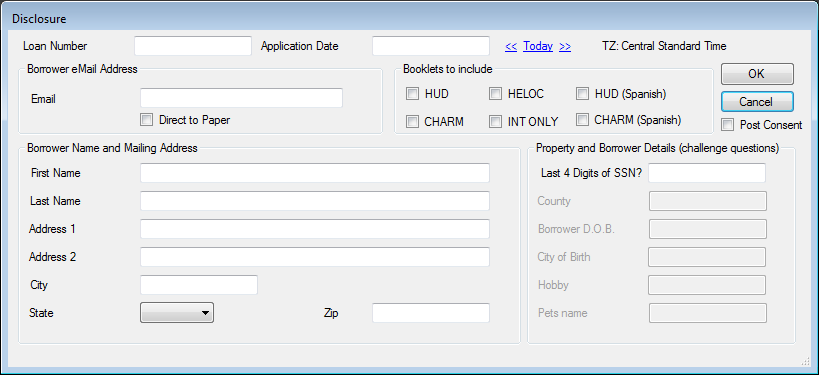 The following table describes the features of the Disclosure dialog.
Feature Description Loan Number Allows you to enter the loan number Application Date The date in which the SDX timers trigger off of before the package will time out and go to paper if not consented to. A Wolters Kluwer Financial Services representative will work with you on this during requirements gathering. Date links Allow you to select Today's date (or future or previous dates) to populate the Application Date field. Borrower Email Address Email Allows you to enter the email address of the borrower Direct to Paper If selected, the package is sent directly to the Wolters Kluwer financial Services paper fulfillment center, if you purchased these services. Booklets to Include Allows you to select which booklets to include as a separate PDF that are displayed electronically or inserted if paper fulfilled. Paper fulfillment is an additional SDX service. Booklet options are: - HUD
- HELOC
- CHARM
- INT ONLY
Post Consent Captures credit card data after a recipient has signed the SDX document. *It is currently unused. Borrower Name and Mailing Address Allows you to enter the name and full address of the borrower Property and Borrower Details (challenge questions) Allows you to enter the answers to the predefined challenge questions. These fields are not available if Direct to Paper is selected. Note: Only certain skins are configured to use the Disclosure button. If your skin is not configured to use the Disclosure button, the button will not appear in the Prepare Documents window. -
Insurance users: If you wish to manage multiple recipients and
participants within a package, click the Disclosure button then click the
Multi-signature button. You will need to provide additional details
about your customer.
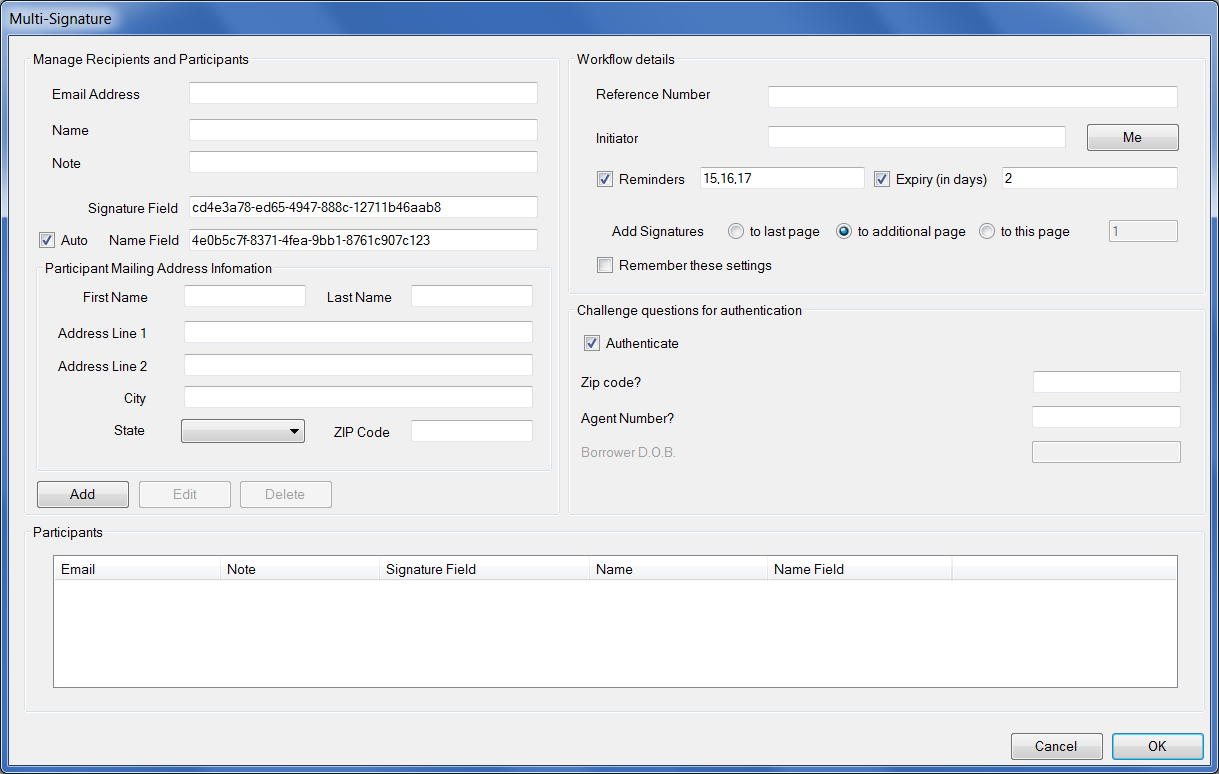
The following table describes the features of the Multi-Signature dialog.Feature Description Manage Recipients and Participants Email Address Allows you to enter each recipient/participant's email address Name The name of each recipient. Note Any pertinent notes for that recipient. Signature Field, Auto, Name Field These fields are for users who inject digital signatures into their own tagged Digital Signature fields within the PDF attachment. Modification of these fields is appropriate by advanced users in some instances. Participant Mailing Address Information Allows you (optionally) enter the full name and full address of a participant. This field is used for paper fulfilment and is available for the first participant only. Add, Edit, Delete Button adds this recipient to the Participants section. Click Edit to modify the recipient's contact information (including email address, note, name); click Delete to remove the recipient. Workflow details Loan Number An ID that links back to the customer's system. Initiator Email address of the person initiating the workflow or the person receiving the signed buttons. The Me button is selected if the sender and the initiator are the same person. It populates the initiator field with the sender's email address. Reminders Allows you to add reminders at specific time intervals. Note that the number of reminders is determined by the number of values provided; each reminder should be separated by a comma. The interval is the value and denotes hours. Expiry (in days) Allows you to establish a deadline for signing a package. Enter the number of days in the corresponding text field. After the expiration, users cannot sign the package. Add signatures Allows you to add a signature to a specific location within the Agreement. Options are: To last page, To additional page, To this page. Remember these settings Preserves settings for future use. Challenge Questions for authentication Authenticate Allows you to add an additional level security when the recipient attempts to open the document. OK Confirms the actions within this dialog and returns you to the Prepare Documents tab. -
To send TRID packages, click the TRID button. The following dialog
appears:
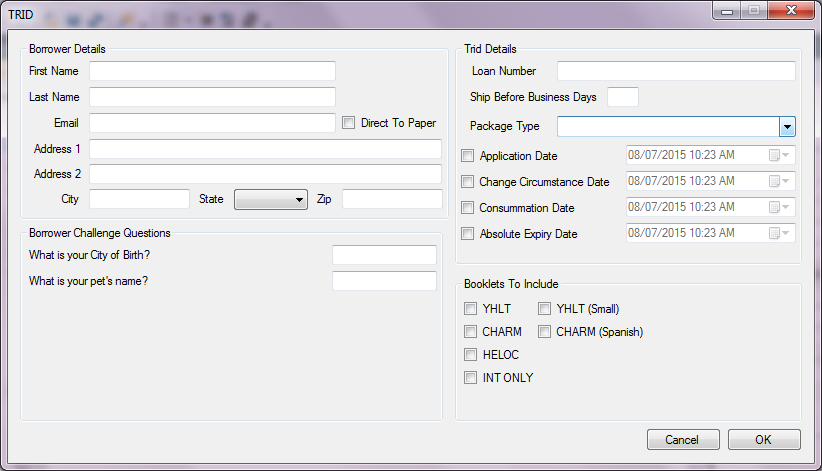 The following table describes the features of the TRID dialog box.
Feature Description Borrower Details First Name, Last Name Allows you to enter the first and last name of the borrower. Email Allows you to enter the email address of the borrower. Direct To Paper If checked, the package is sent directly to the Wolters Kluwer Financial Services paper fulfillment center, if you purchased these services. Address, City, State, and Zip Allows you to enter the address information of the borrower. Borrower Challenge Questions Allows you to enter the answers to the predefined challenge questions. These questions display whenever you have multiple question authentication enabled. When Smart Consent is enabled, these challenge questions are optional. TRID Details Loan Number An ID that links back to the customer's system. Package Type Use this field to enter a description of the package type. Ship Before Business Days Use this field to enter the number of business days Application Date Check this box to enter the application date, then select the date and time in the corresponding field. Change Circumstance Date Check this box to enter the change circumstance date, then select the date and time in the corresponding field. Consummation Date Check this box to enter the consummation date, then select the date and time in the corresponding field. Absolute Paperout Date Check this box to define the absolute paperout date, then select the date and time in the corresponding field. Booklets to Include Allows you to select which booklets to include as a separate PDF that are displayed electronically or inserted if paper fulfilled. Paper fulfillment is an additional SDX service. Booklet options are: - YHLT
- CHARM
- CHARM (Spanish)
- HELOC
- INT ONLY